When we are talking about some sort of budget-oriented computers which are mainly used in offices or eventually for students without the need for too much graphic load, it is usually based on integrated graphic cards. This is where APU comes into play. With AMD's processors which have solid integrated graphic cards, we tend to orient our search for processors like AMD Ryzen 5 5600G and for those that need more power, then AMD Ryzen 7 5700G.
Now there are also other factors to take into consideration when building such a computer. Usually, office workers and students tend to have smaller space available on their desks and because of that laptops tend to be a better choice, but in today’s article, we are looking for a small form factor computer that can still pack a punch with workload and in some terms deliver more than your regular multimedia laptop. Yet again, we have a much bigger screen on a monitor than on a laptop which makes the workflow much more convenient.
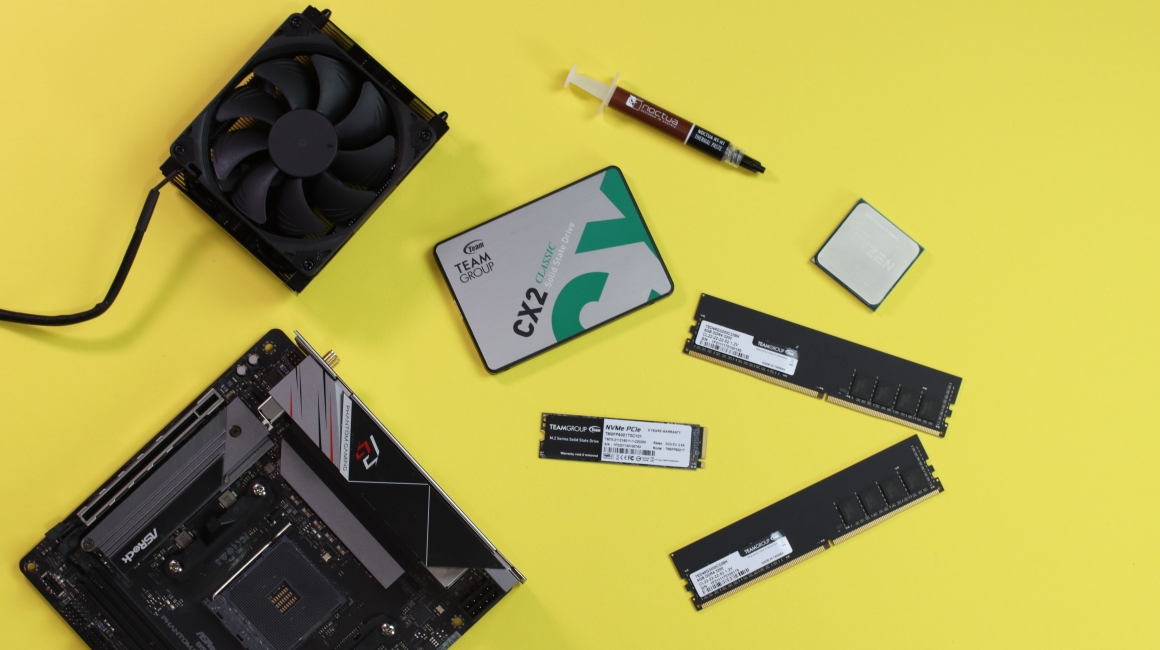
 Processor – AMD Ryzen 5 5600G
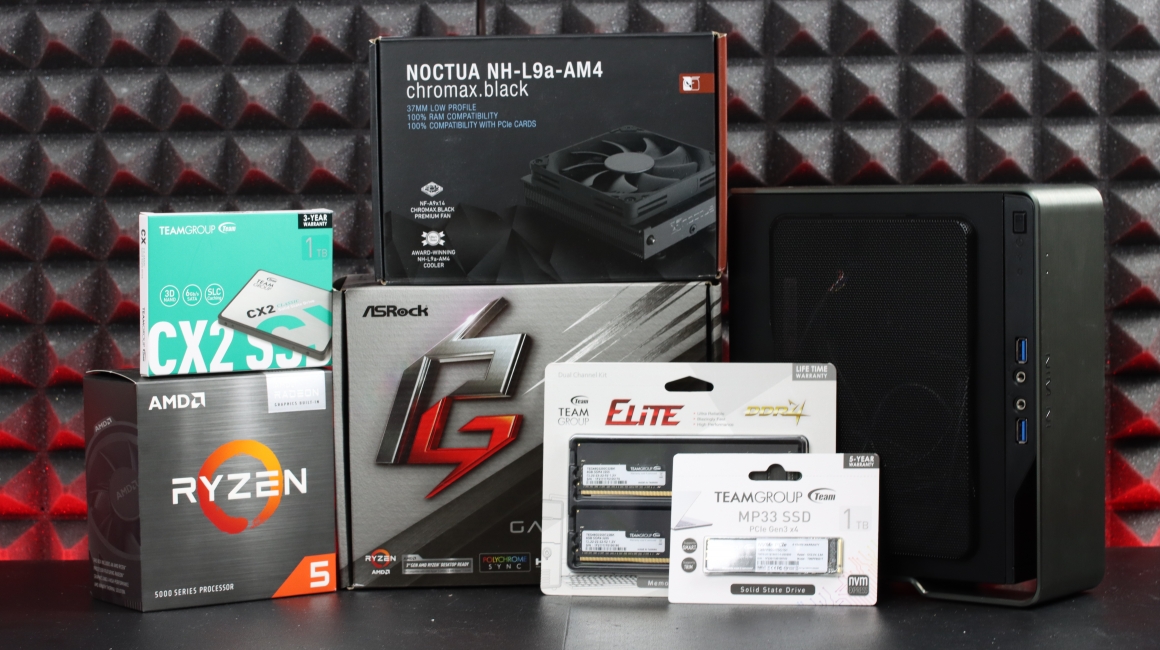
So, let’s start with the specifications. First, as already mentioned we are going to use AMD Ryzen 5 5600G because of its performance and price range which can deliver a nice and satisfying workflow.
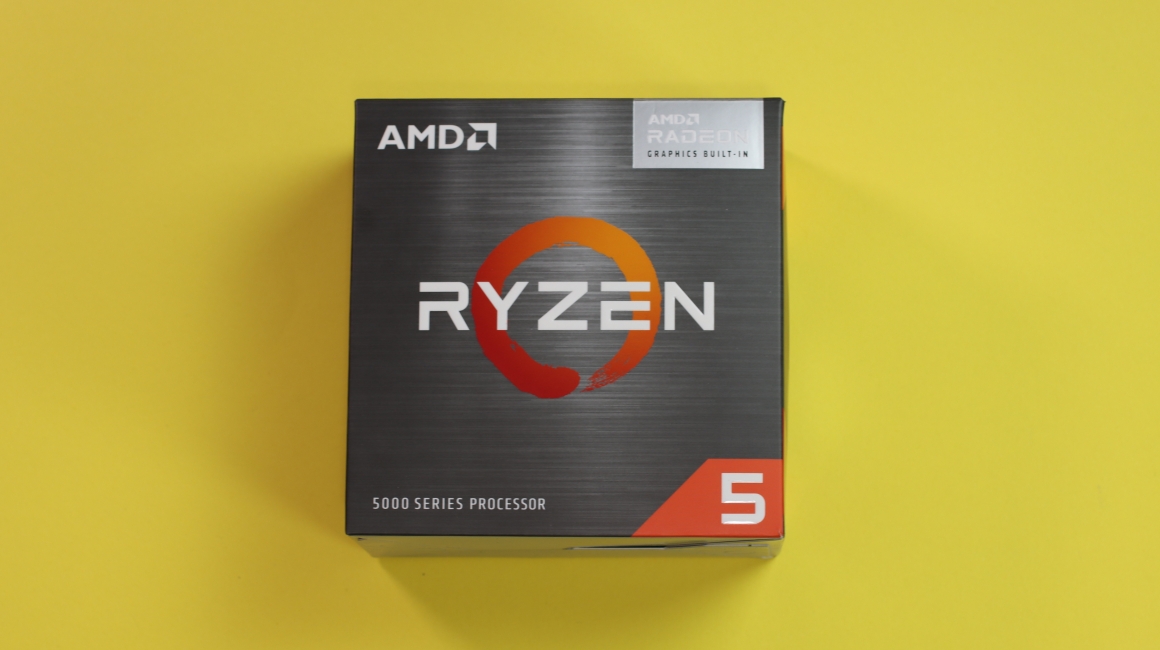
With 6 cores and 12 threads, it is a great processor for multitasking, yet the TDP isn’t that high (around 45-65W), so we don’t need a big power supply. More on that later. The 5600G doesn’t heat up that much, but in any situation and for the sake of quality cooling we will add an aftermarket CPU cooler to keep those temperatures as low as possible. It is based on AM4 socket we have no problems in searching for a perfect CPU cooler.
CPU Cooler – Noctua NH-U9a-AM4 chromax.black
In terms of air cooling, Noctua always delivers the best performance in all segments, from high-end with huge CPU coolers to the small form factor builds. This CPU cooler is specifically designed for AM4 sockets and it can handle the AMD Ryzen 5 5600G even in tight spots, like small form factor cases.
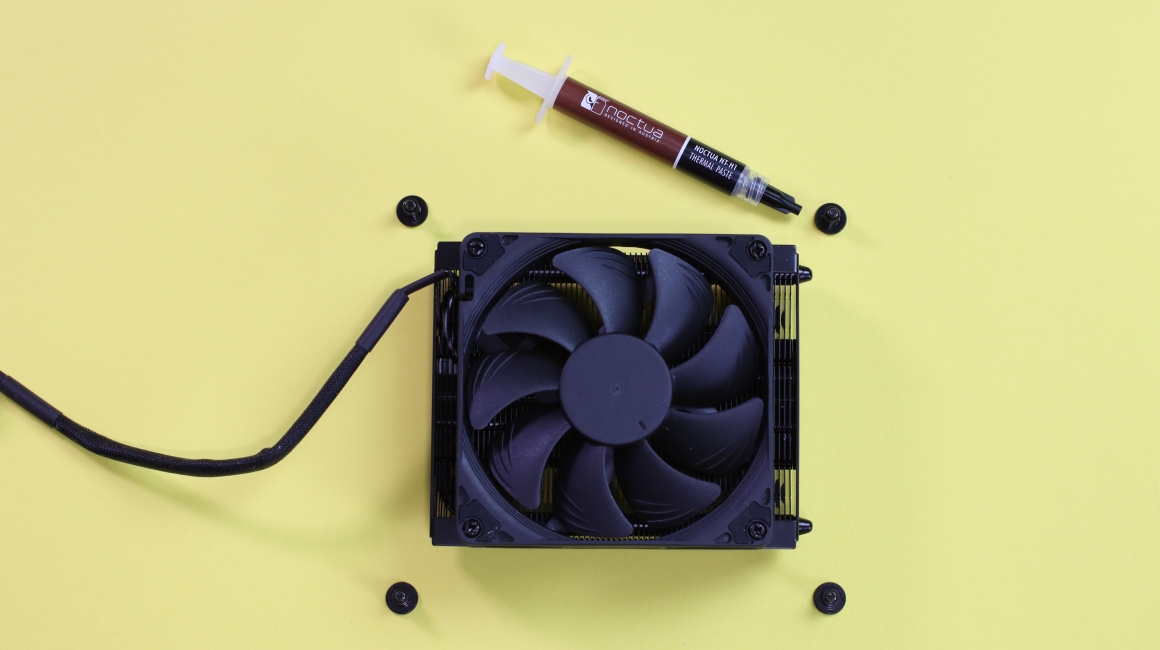
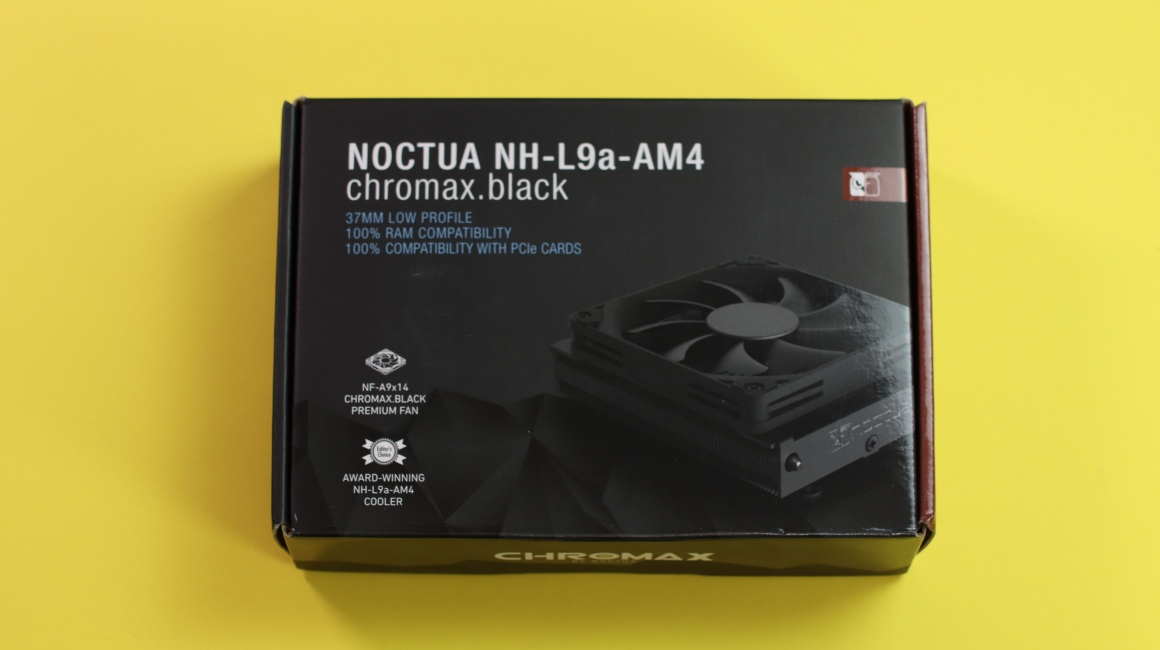
Running a full benchmark on AMD Ryzen 5 5600G, in idle it keeps it steady at 40C, while under full load in AIDA 64 Extreme Edition System Stability test keeps it around 72C. It also depends on the case we are using, but still even in tighter and smaller cases, for that processor, this is a great thermal solution.
Case – InWin Chopin Pro
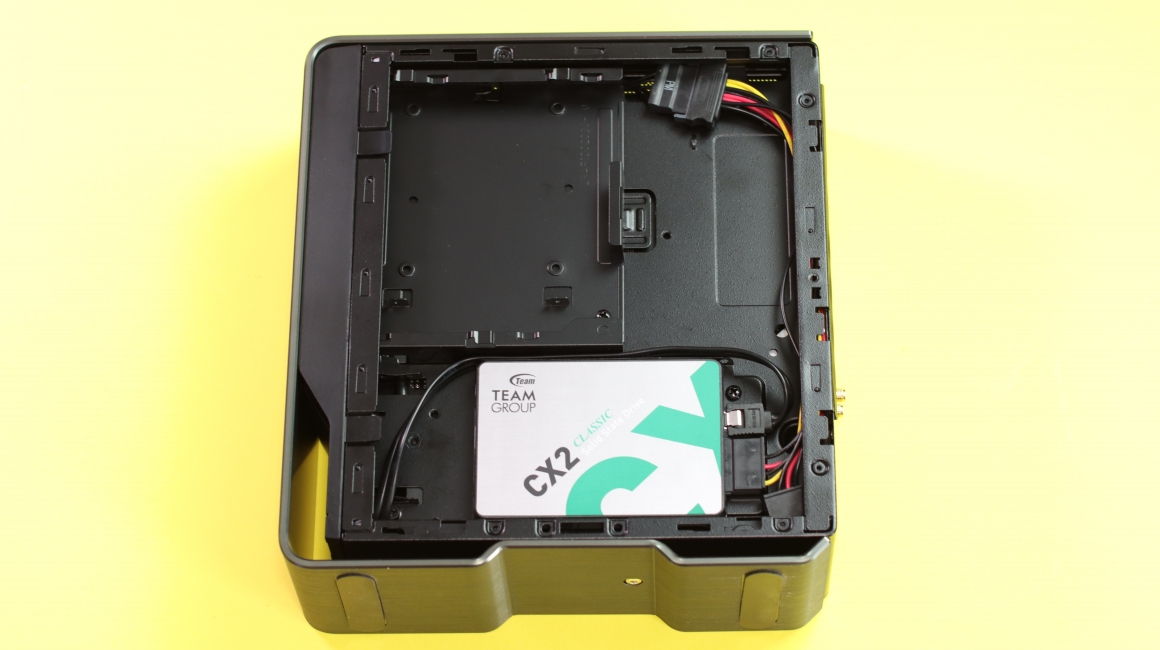
InWin Chopin Pro case supports ITX motherboards and compared to other SFF cases, comes with a 200W power supply so it can run even the 5700G without a problem. The side meshed panel really helps the cooler with the airflow and nice organization can give a person the possibility to accommodate additional 2x 2.5” SSDs which is remarkable. The 200W power supply is situated at the bottom of the chassis and doesn’t make to many problems when placing the motherboard. You already have cables pre-attached to the power supply and only those that you need. 24-pin for the motherboard, 8-pin for the processor, and SATA power cable that can be divided into two additional SATA power connectors for those two 2.5” SSDs at the back of the case.
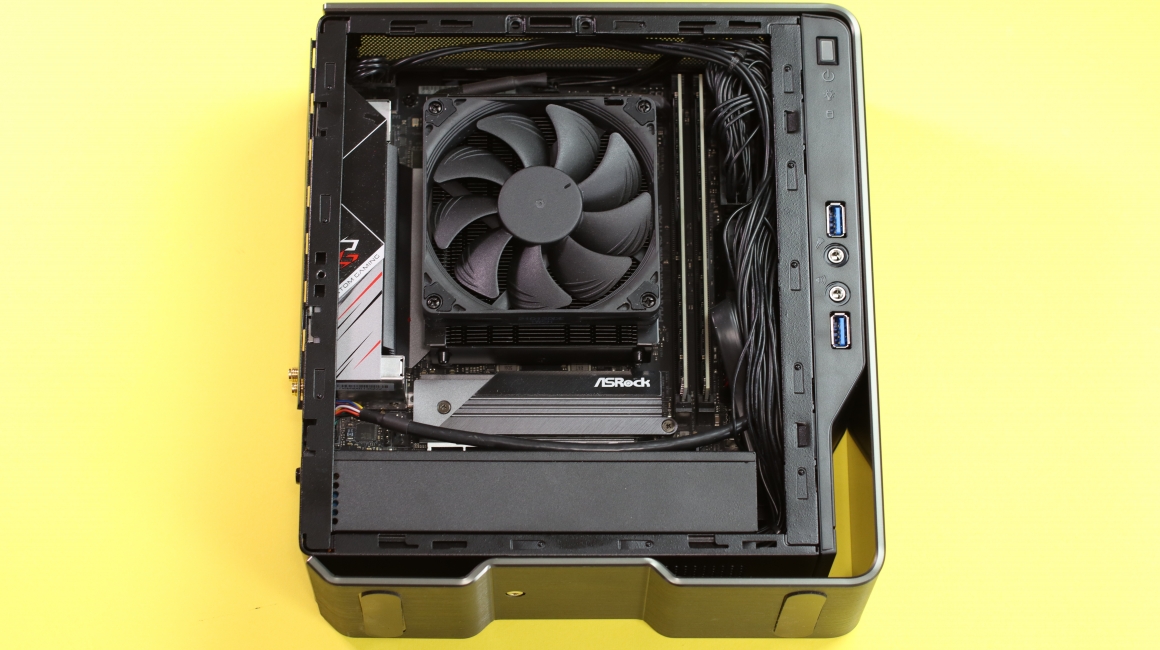
In addition to everything, we have 2x 3.5mm jacks for your headset and microphone connection plus 2x USB 3.0 for additional USB connectivity. Since the case doesn’t have a USB Type-C connection, depending on the motherboard and since the case is small, the convenience of using the motherboard ports has never been easier.
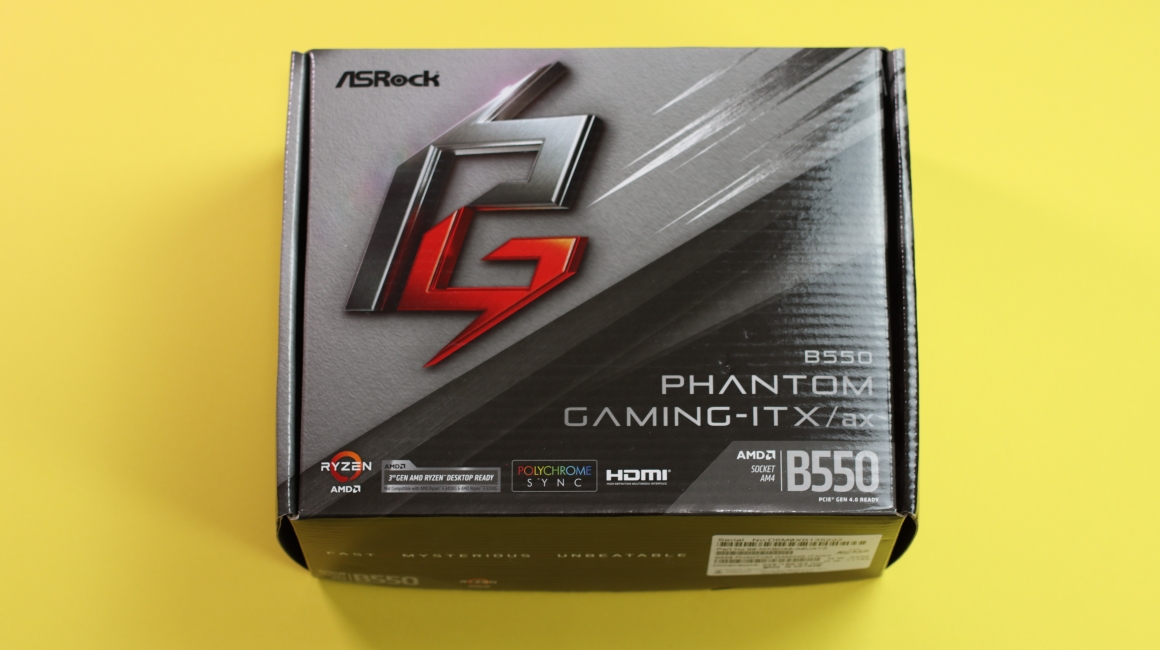
Motherboard – ASRock B550 Phantom Gaming-ITX/ax
This is a more gaming-oriented motherboard that can support much stronger processors but this one was the only ITX board we had for this video. To save more than $100 on this project/computer, another suggestion would be ASRock B550M-ITX/ac which is around $129.
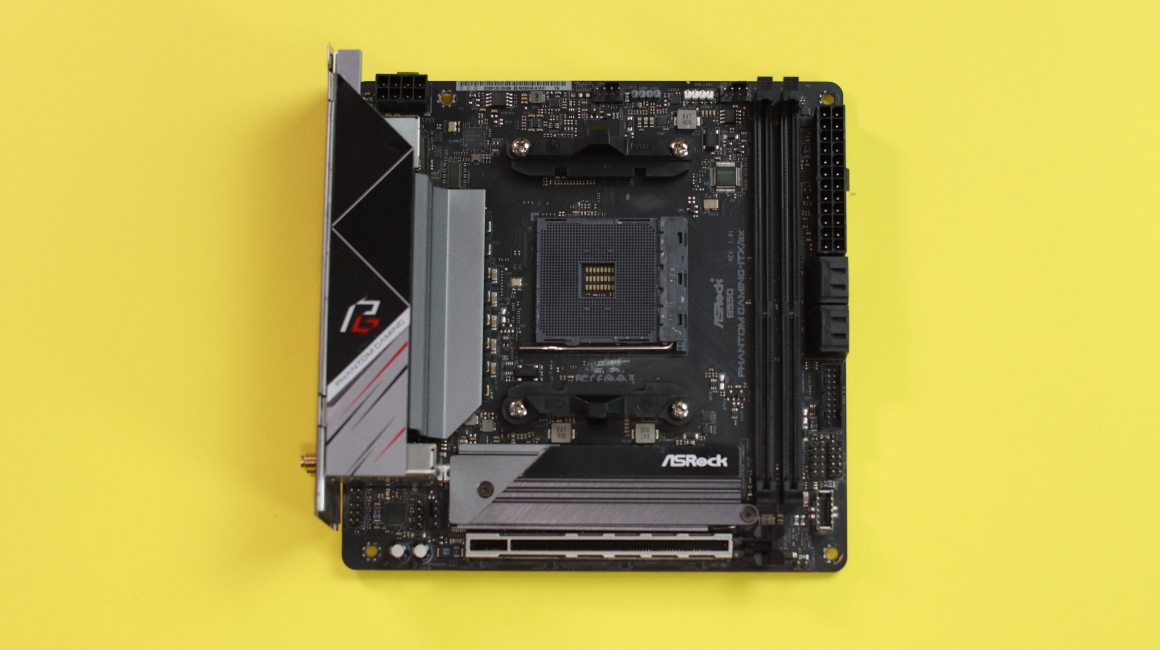
This motherboard supports 2x M.2 slots which gives you less cables inside your computer and better organization, but also insane speeds compared to your conventional HDD or even 2.5” SSDs. Supports DDR4 up to 5400+ (OC) but that also depends on the processors you are using. Then we have 4x SATA ports even though for this computer two are more than enough and for this kind of computer, the most important, Wi-Fi 6 and Bluetooth 5.2 for wireless connection to the Internet and Bluetooth connection for your wireless peripherals.
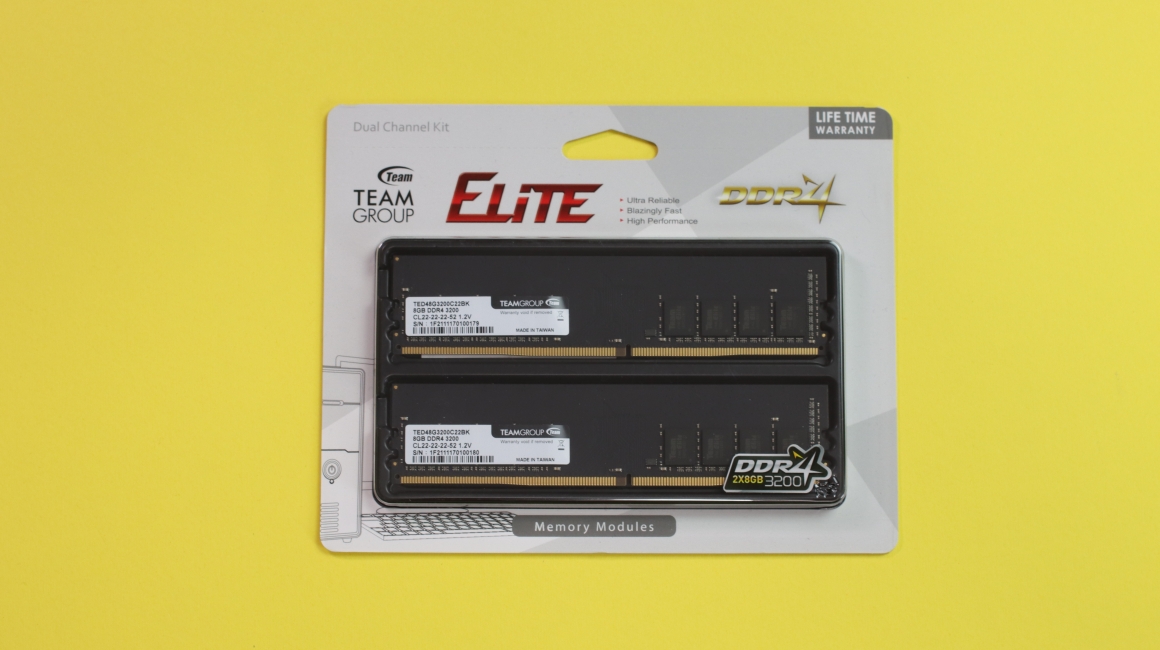
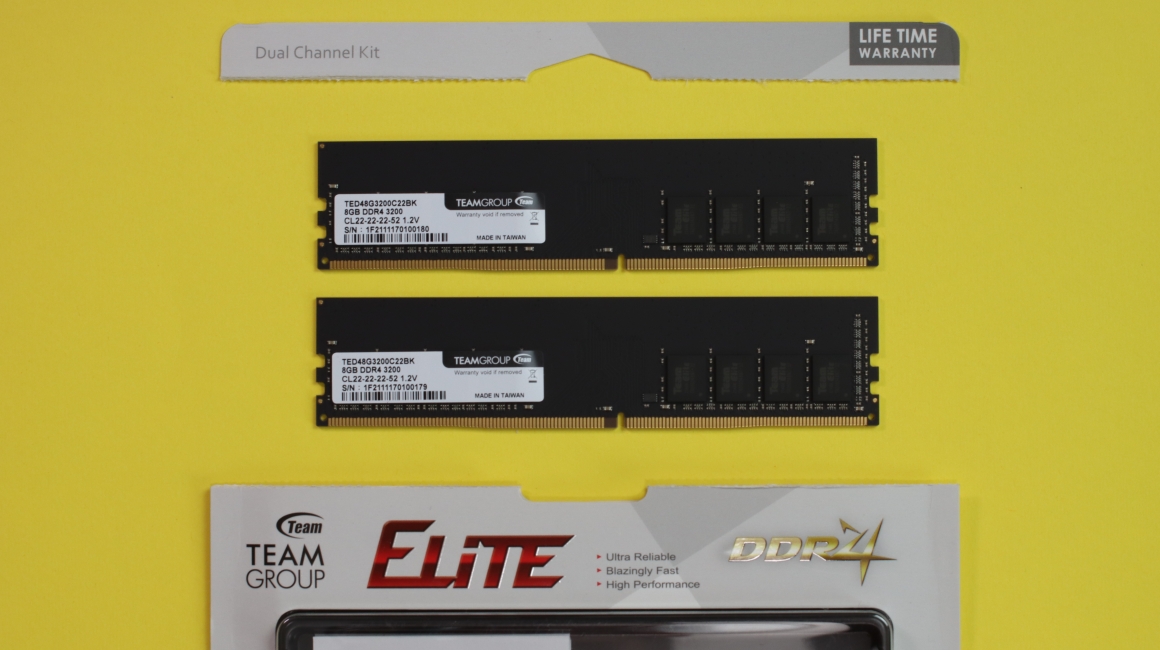
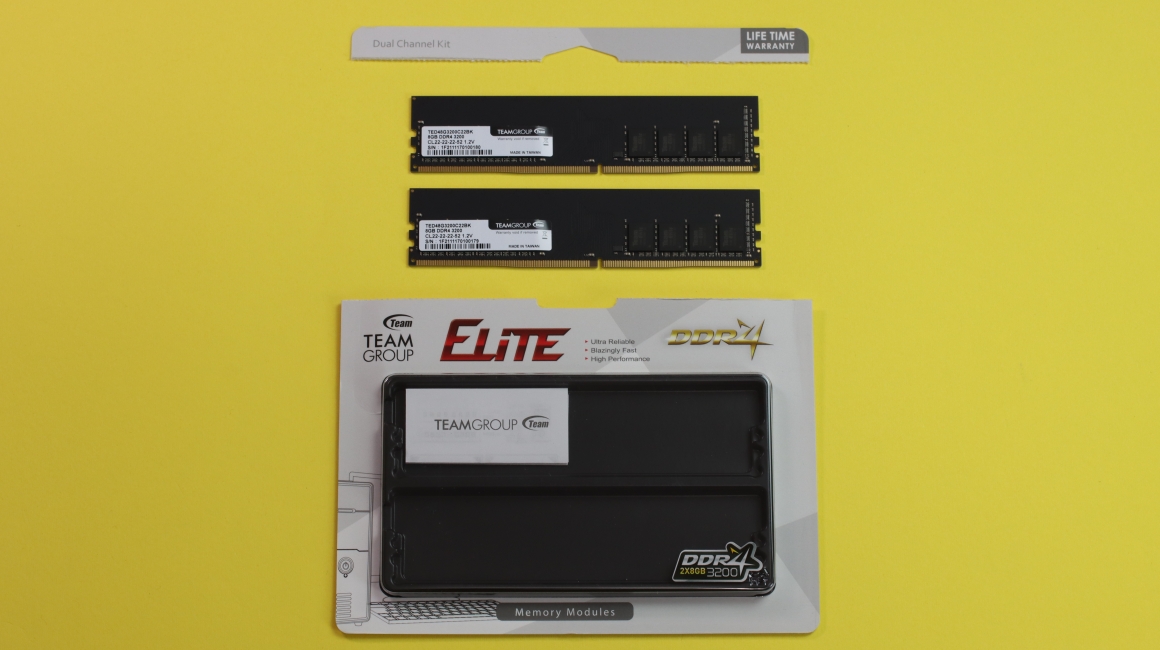
RAM – TEAMGROUP ELITE DDR4 2x8GB 3200MHz
In terms of speeds, 3200MHz is still a sweet spot for AMD processors and 16GB is somewhat a new standard for any sort of computer. That is why we decided to fill up those two slots entirely and give this computer enough RAMs to breathe during browser usage but still in standard workload, so we don’t have any problems while opening multiple tabs and multitasking with different applications open. With this price range, a naked kit of RAMs, meaning without any heatsink will suffice nicely and give the price per performance ratio a great budget for any person looking to find an affordable upgrade to their office or student computer.
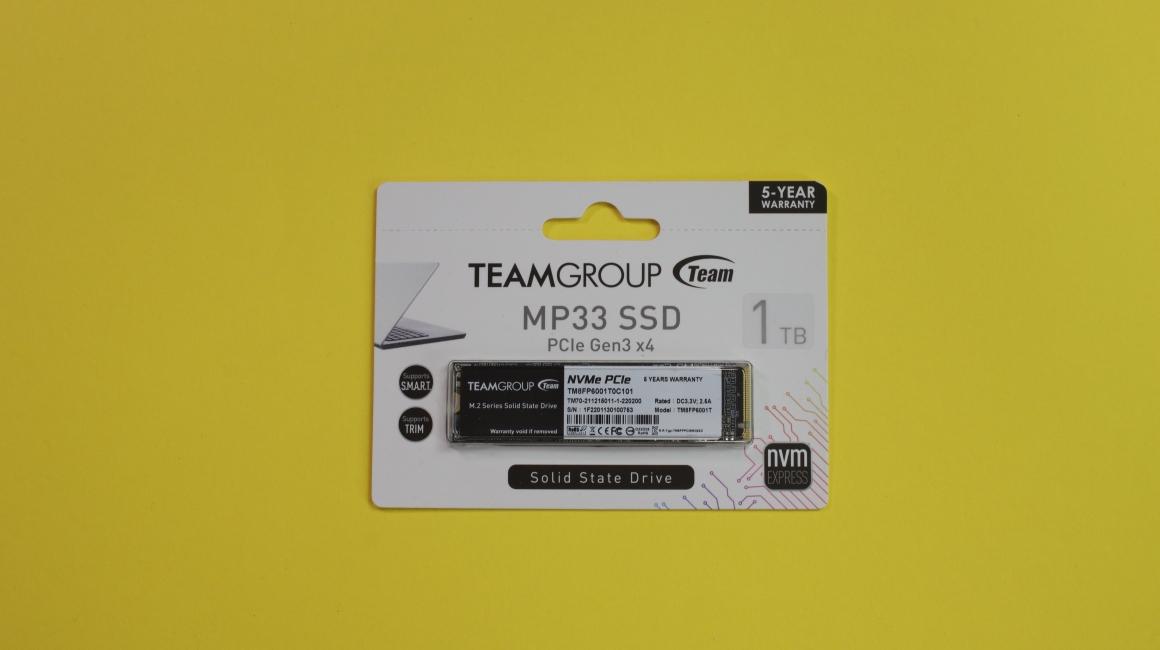
 SSD – TEAMGROUP MP33 Gen3x4 M.2 1TB
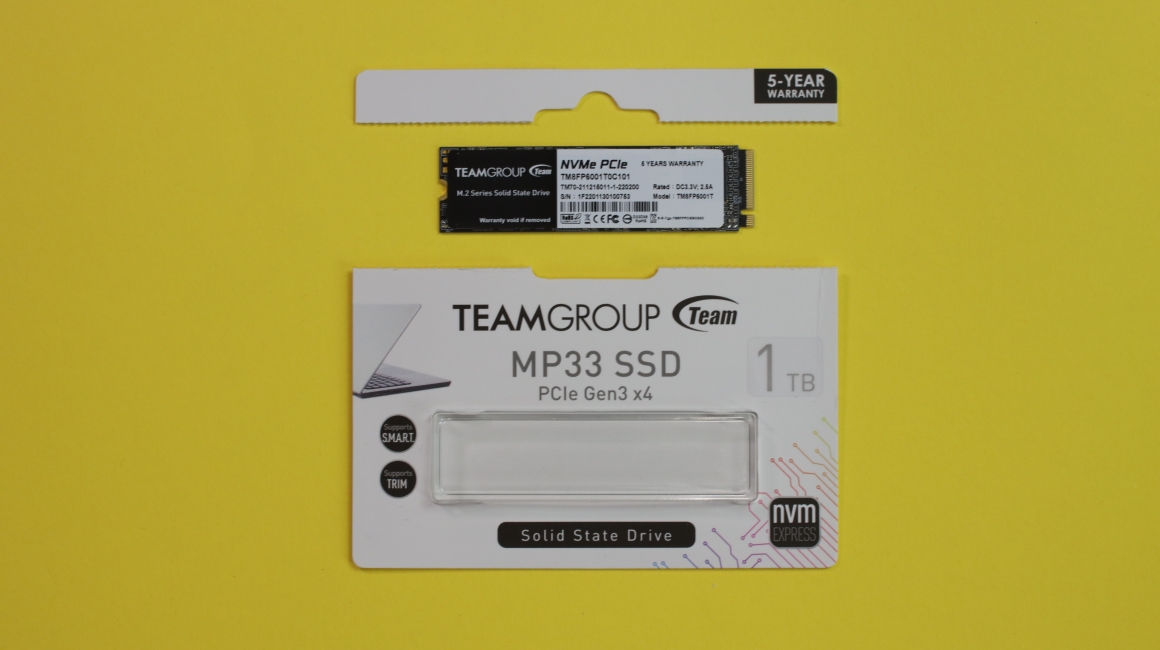
No cables, astonishing speeds, and easy installation. With Team Group MP33 Gen3x4 M.2 SSD we get everything we need for such a build. The fast boot of your operational system, install needed software and applications such as Microsoft Office Suite or any additional software needed for work, can really breathe and open quite quickly. With the capacity of 1TB in the environment where it is used in the Office or for students, there is no need for more than this. Rest can be always stored in some sort of a Cloud Storage that ranges up to a couple of TB (but at a certain cost as well). This should be placed and used as the main drive for everything. Fast, reliable, and nice amount of capacity.
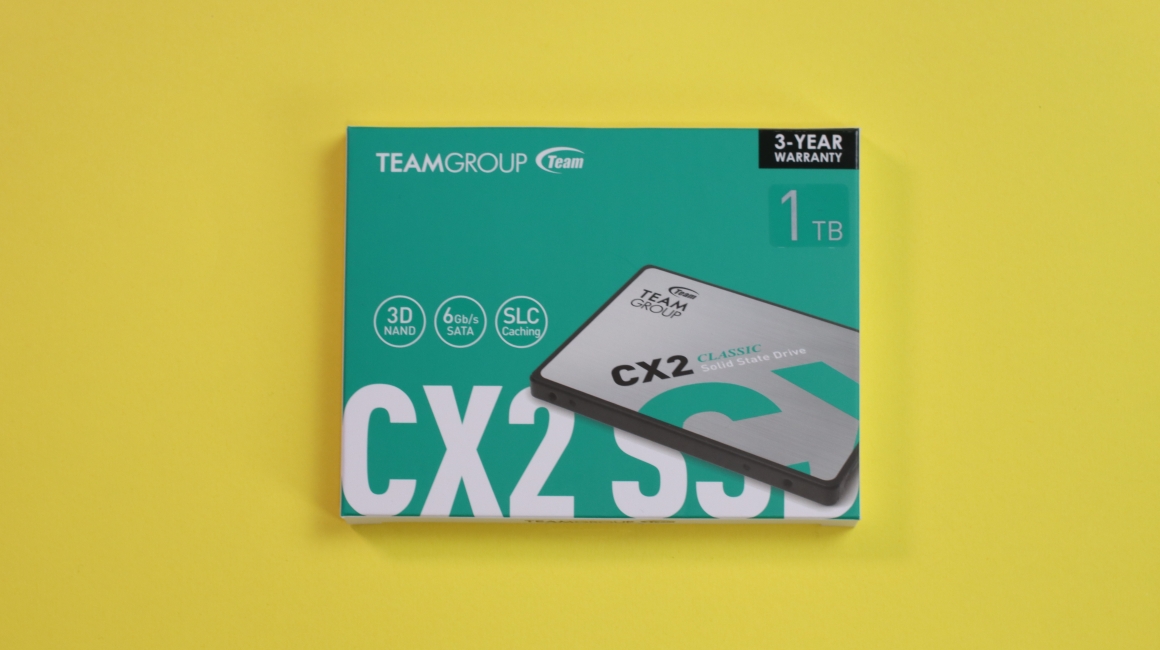
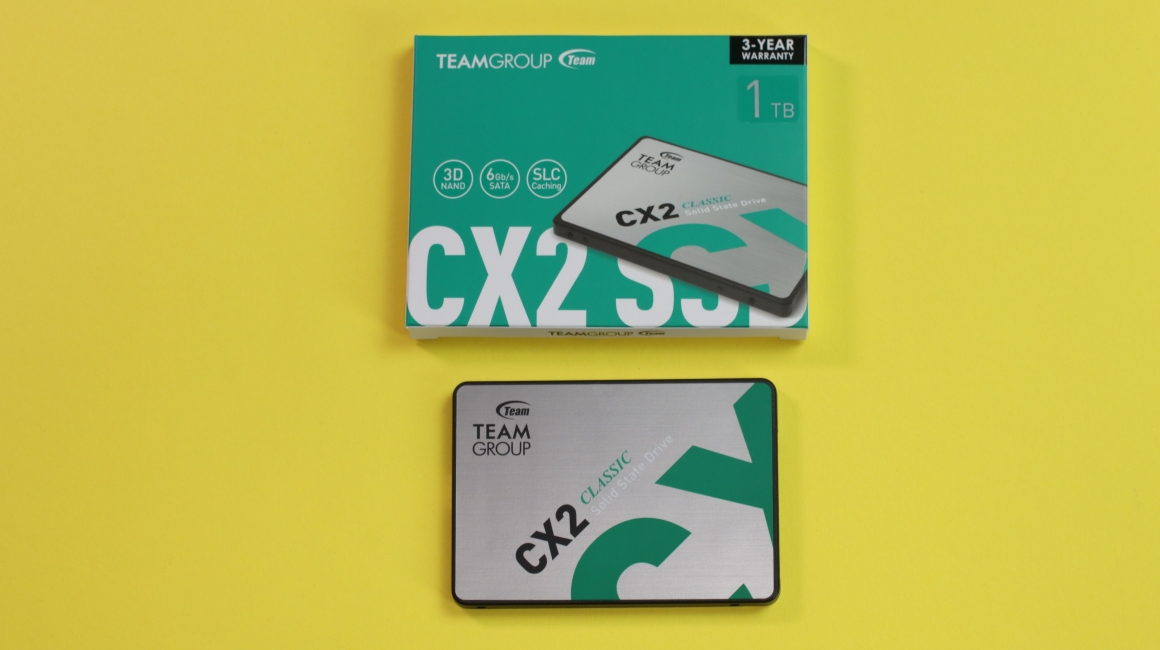
 SSD – TEAMGROUP CX2 Classic 2.5” 1TB
Since the case supports up to two 2.5” SSDs, why not add additional and fast storage that can be used either for more applications or for somewhat fast storage for regular documents? There is also a possibility to use 2.5 hard drives, but they have physical parts and after a long time they aren’t reliable, especially in that form factor. Of course, this SSD isn’t necessary if not needed, but a suggestion for an upgrade if more storage is required. They are slower than your regular Gen3x4 M.2 SSD, but still faster than any hard drive.
 BUILD PROCESS
It all depends on what is the budget of course, but also if some want a better
cooling solution and more storage, plus an unnecessary better motherboard which can save up a nice amount of money.
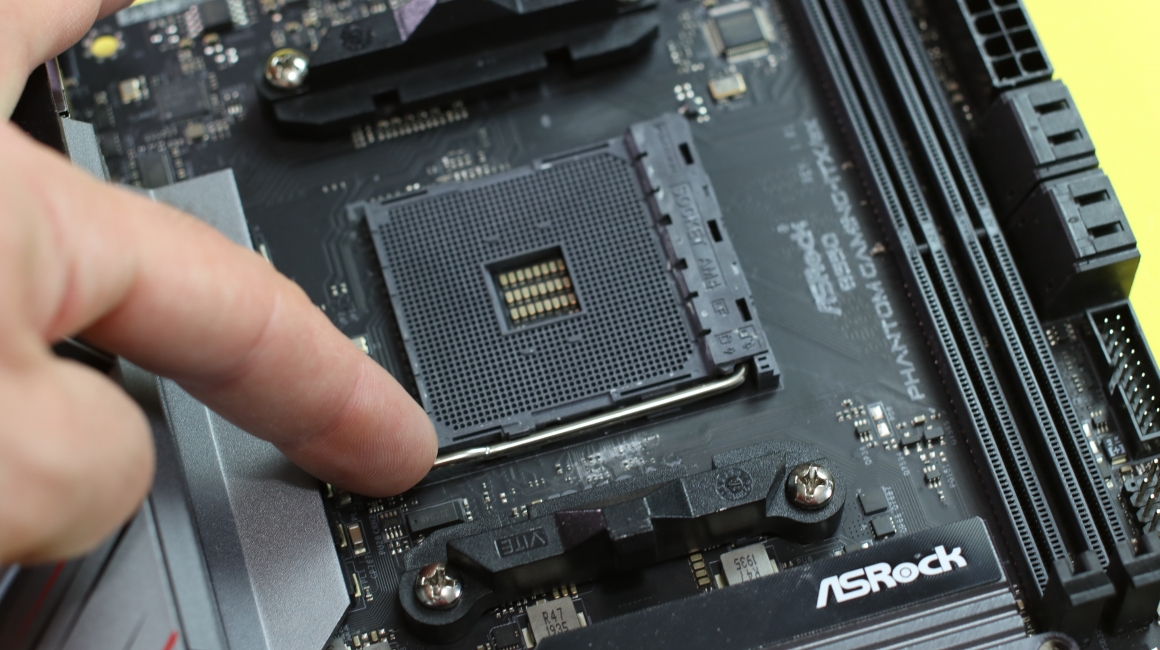
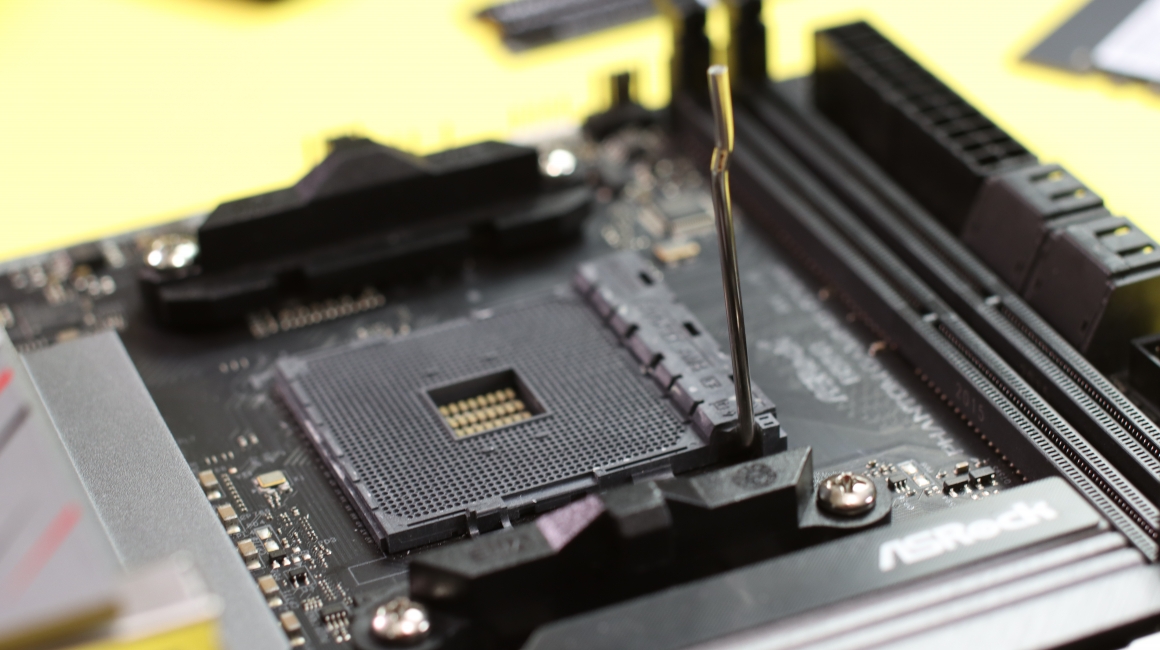
After that, place the processor accordingly in the AM4 socket. It should fit perfectly, otherwise, it isn’t placed properly. In picture 20 you can see the position of the processor to avoid any mistakes.
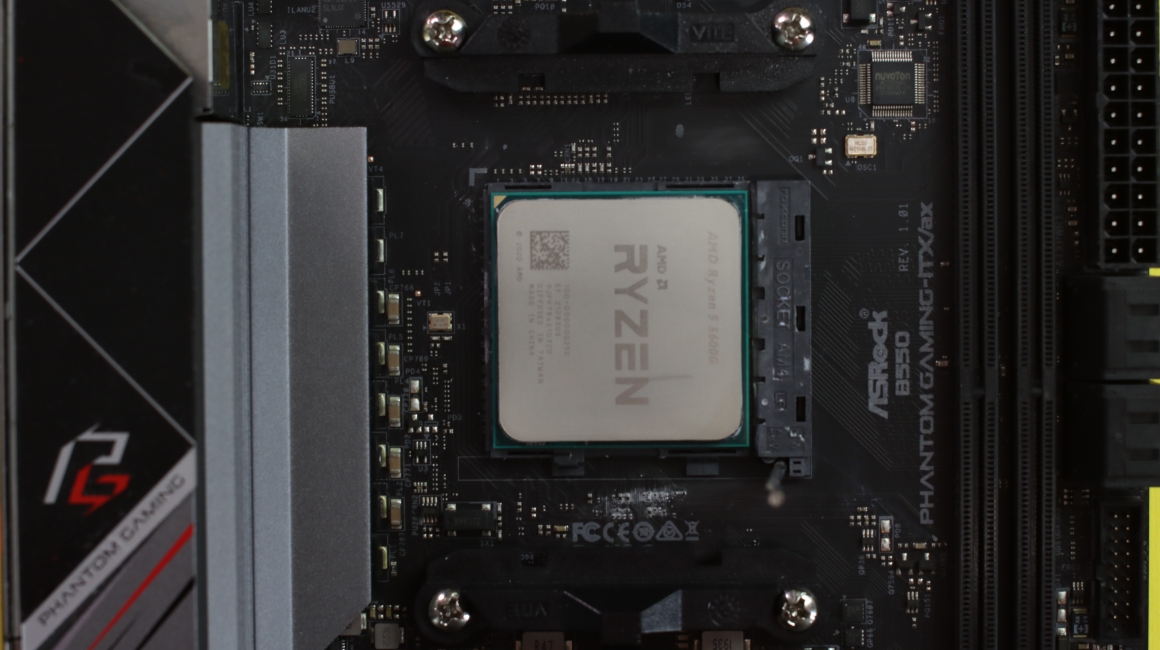
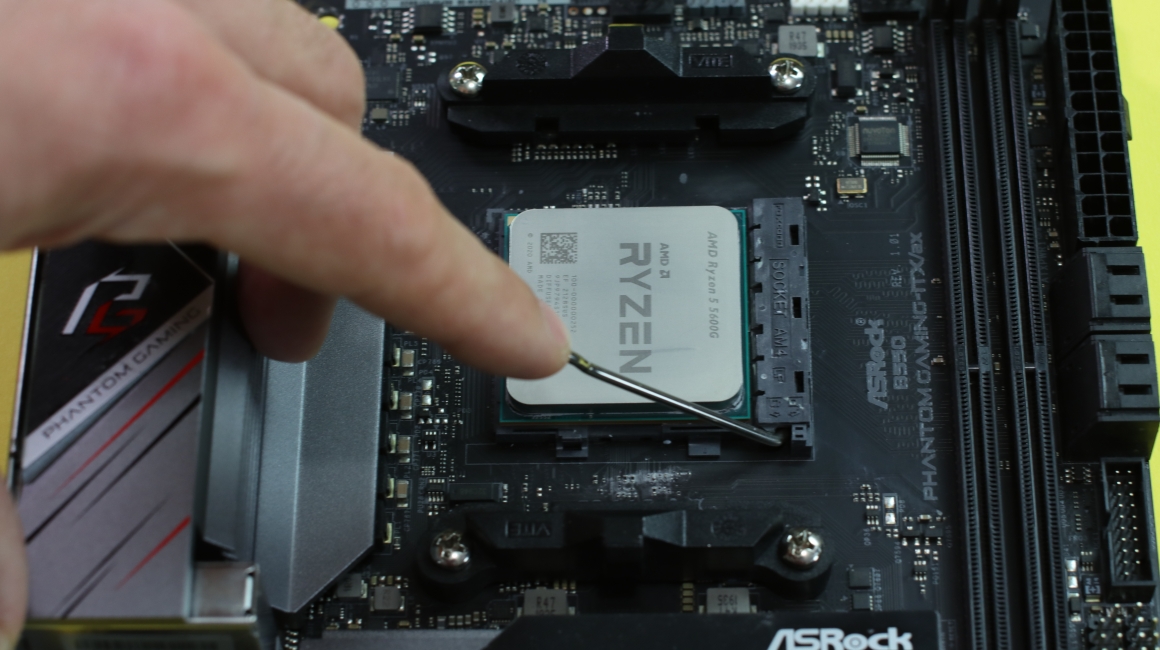
Lower down the latch that holds the processor to the socket. Do take into consideration that you will feel a slight force while doing so. There is no need to worry about that.
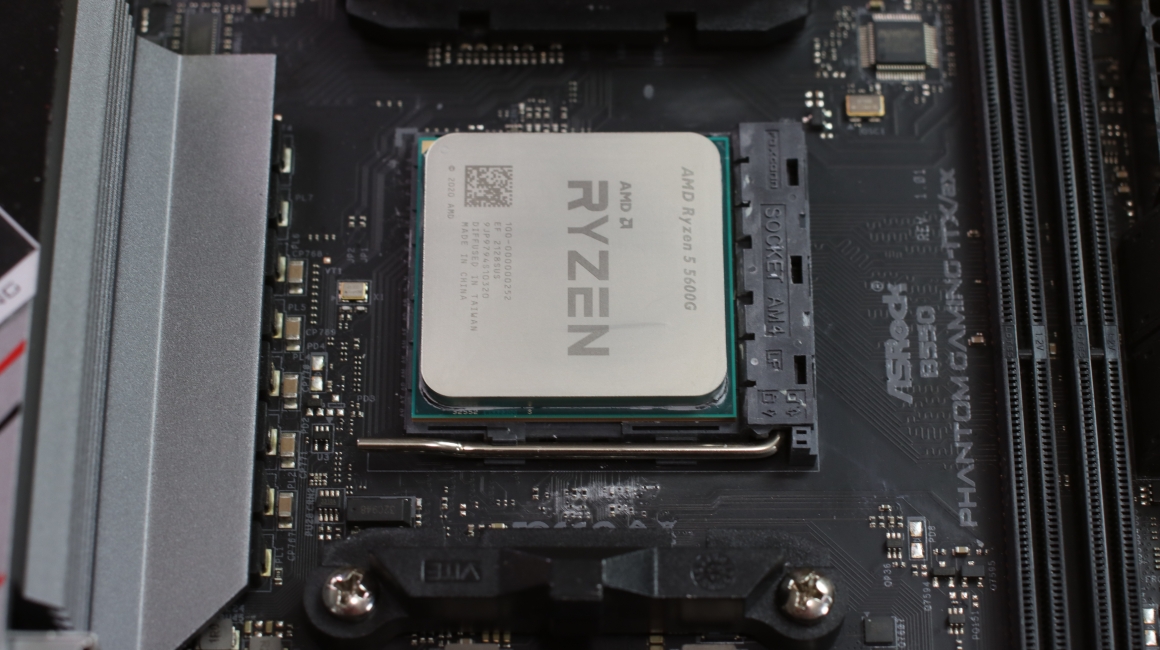
Placing RAM sticks is even easier than placing the processor. Push out the latches that hold down the RAMs. Some motherboards have them on both side with a locking mechanism, while some, such as the one we use, have an opening on one side and latches on the other.
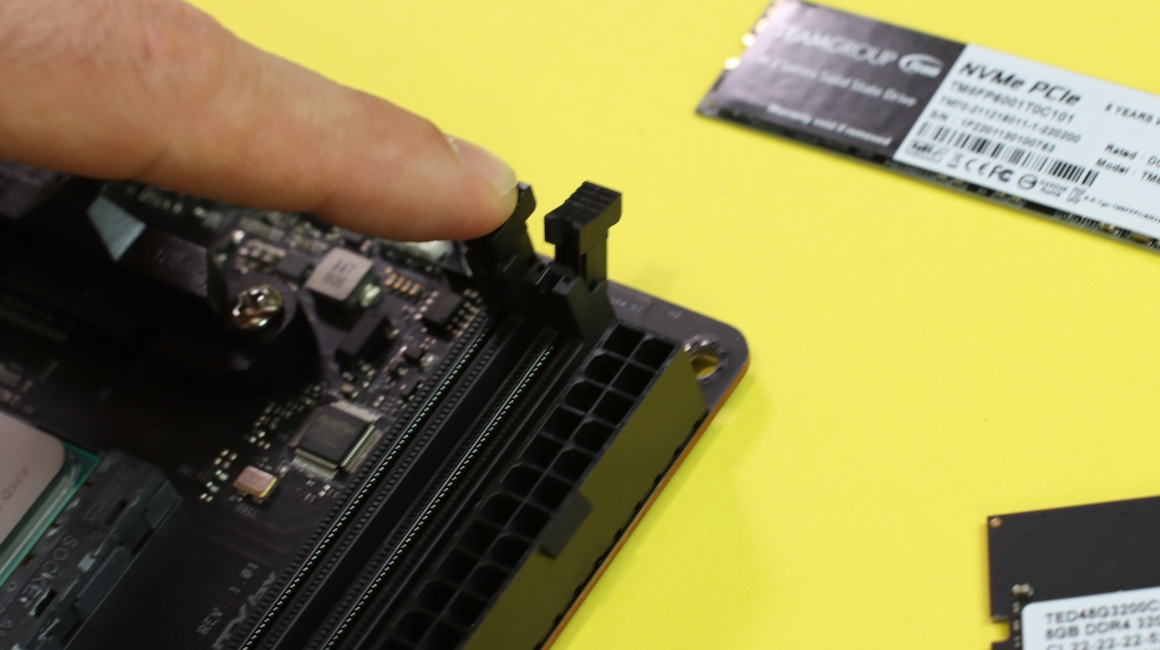
Also, take good care when placing RAMs inside because the middle cutout in the RAM connection needs to align with the same cutout on the motherboard sockets for the RAMs.
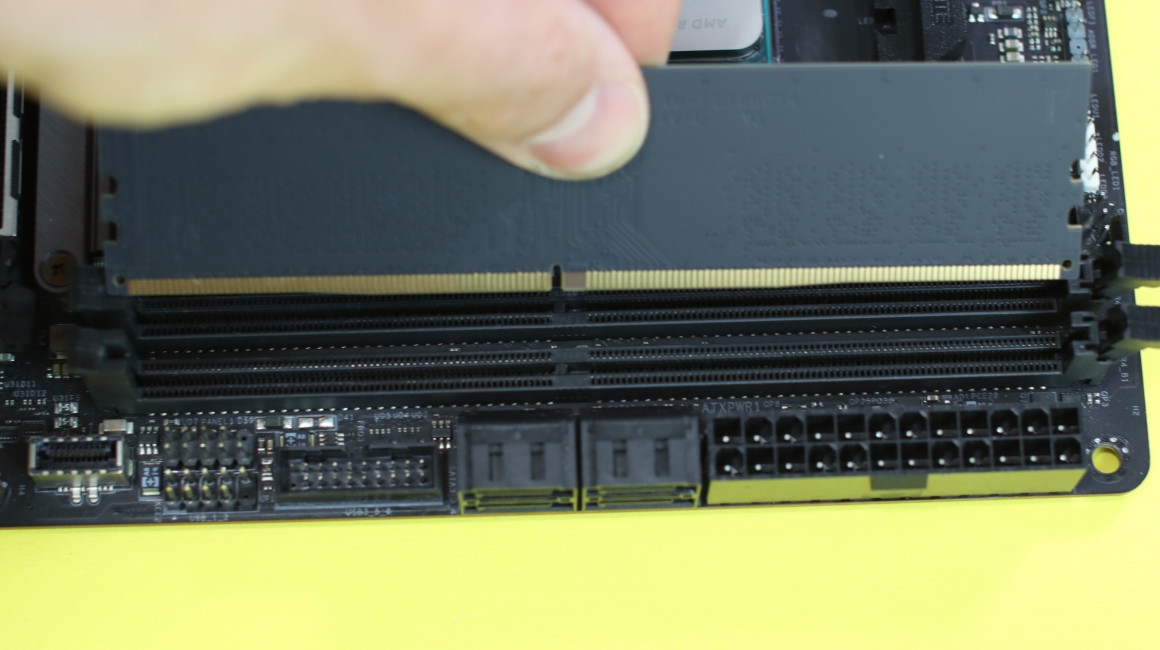
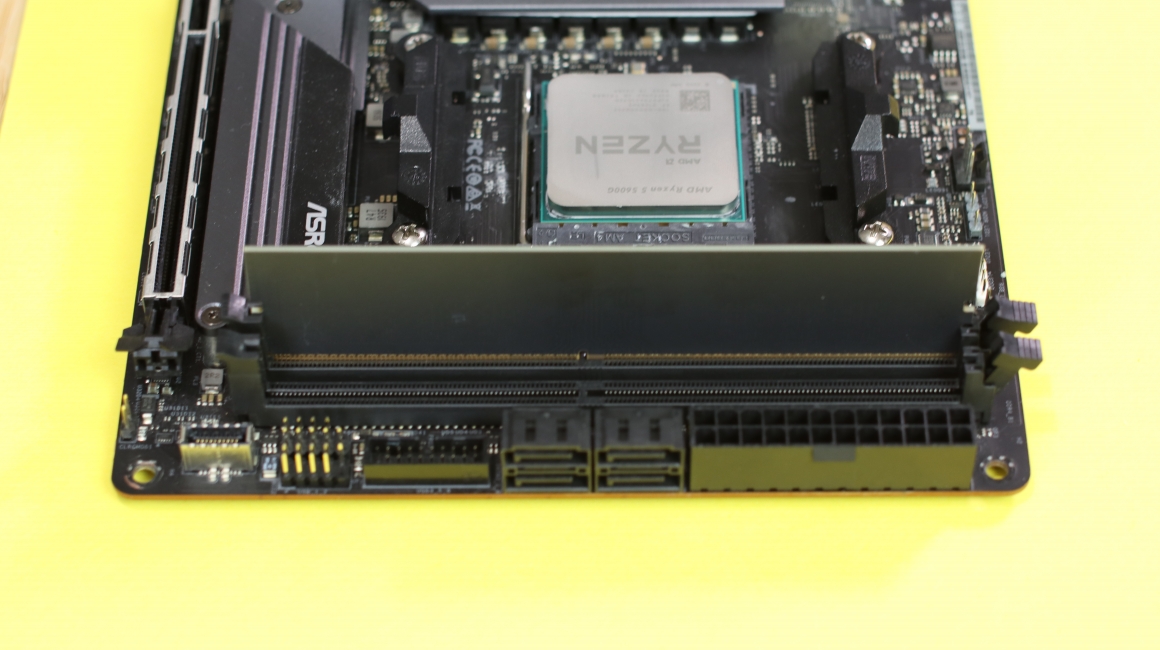
If you see that the RAM sticks have aligned with the socket on the motherboard, you can evenly press it down so that the latches on the motherboard click and grab the RAM holding it tight to the pin connections.
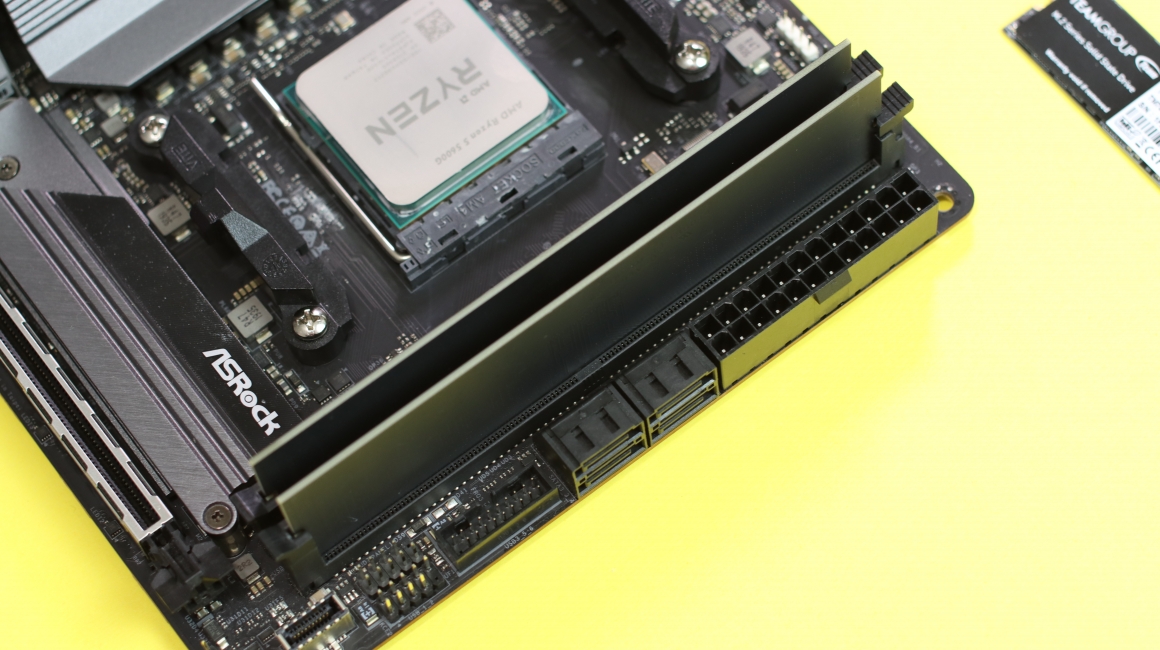
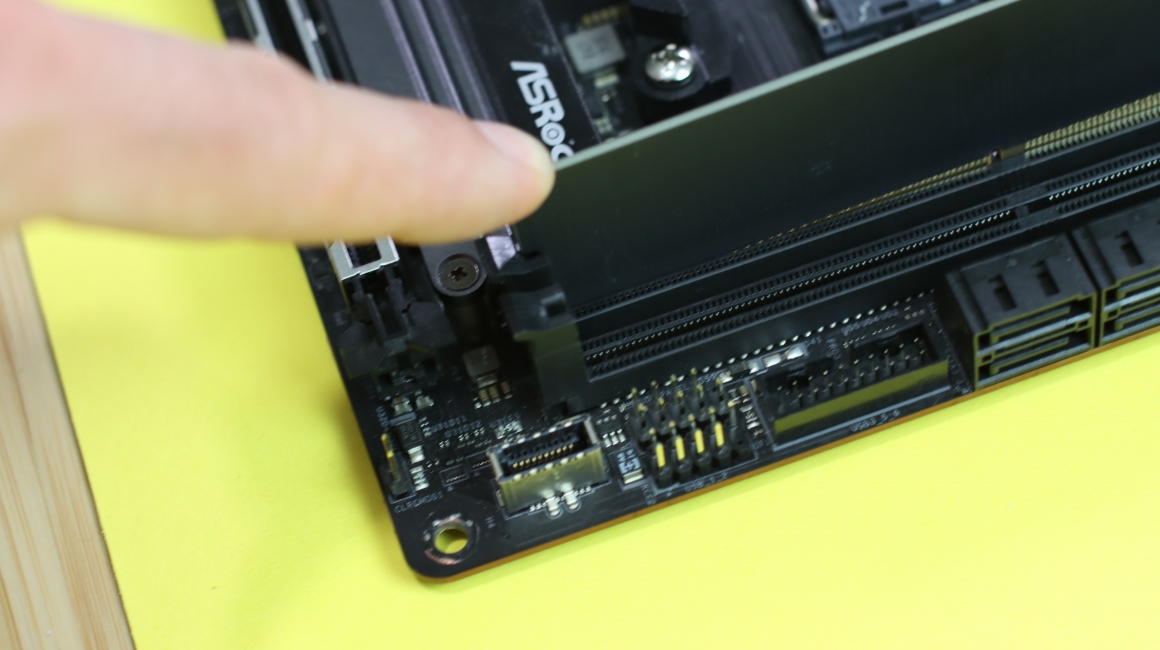
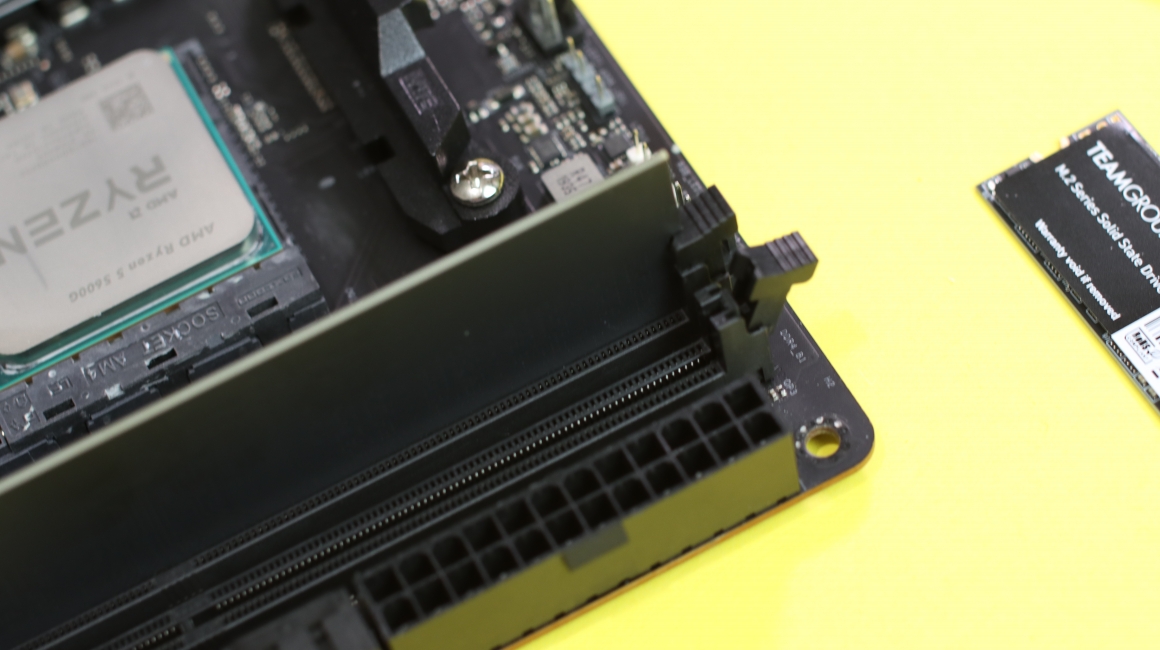
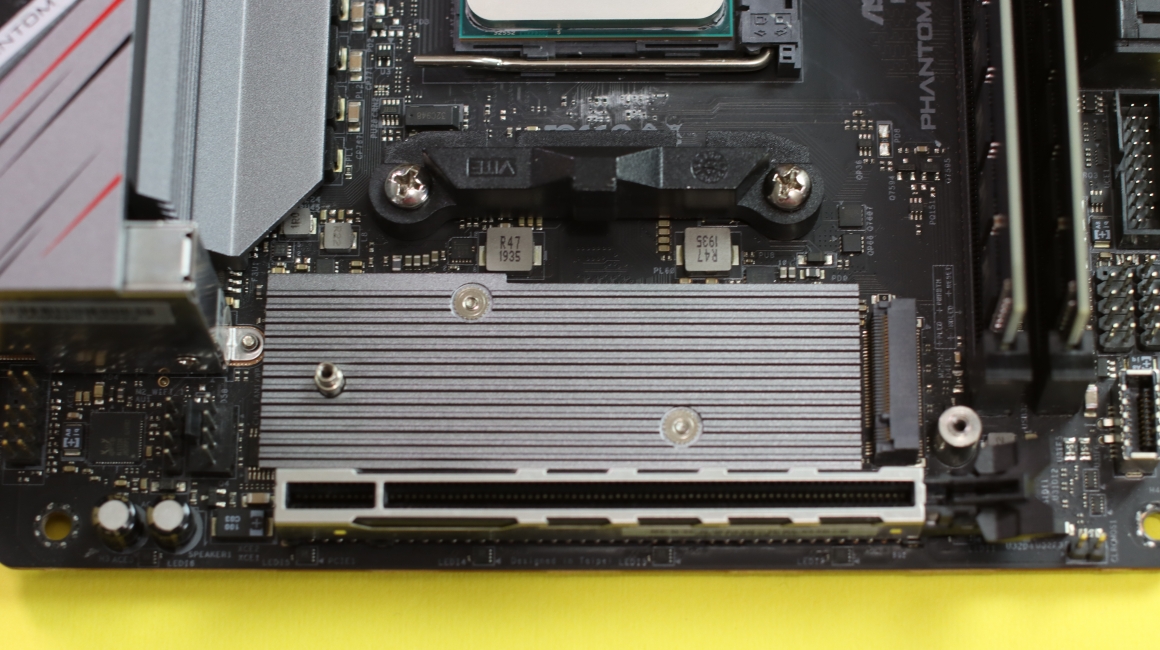
Time to place the storage. Remove the passive heatsink that cools down the M.2 SSD by removing two screws that hold it.
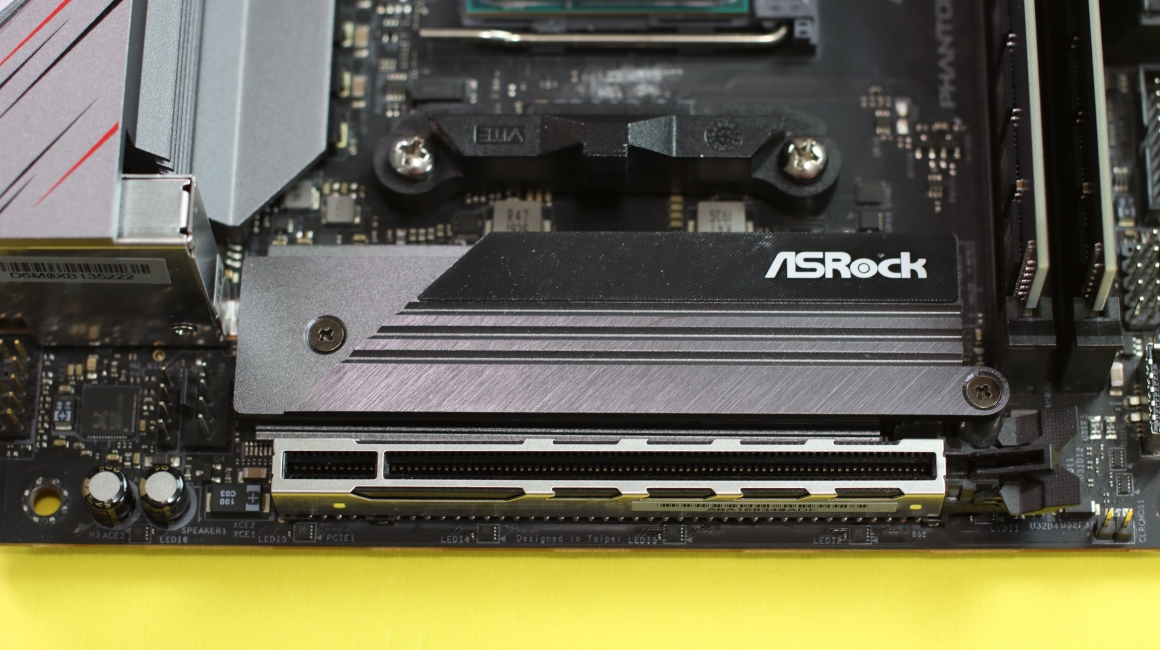
After that is done, you can clearly see the connection part for the M.2 SSD. Something like RAMs, M.2 SSD has its own socket with pins that connect in a certain ways so check the M.2 connection part and how it looks, and finally the socket so it aligns perfectly.
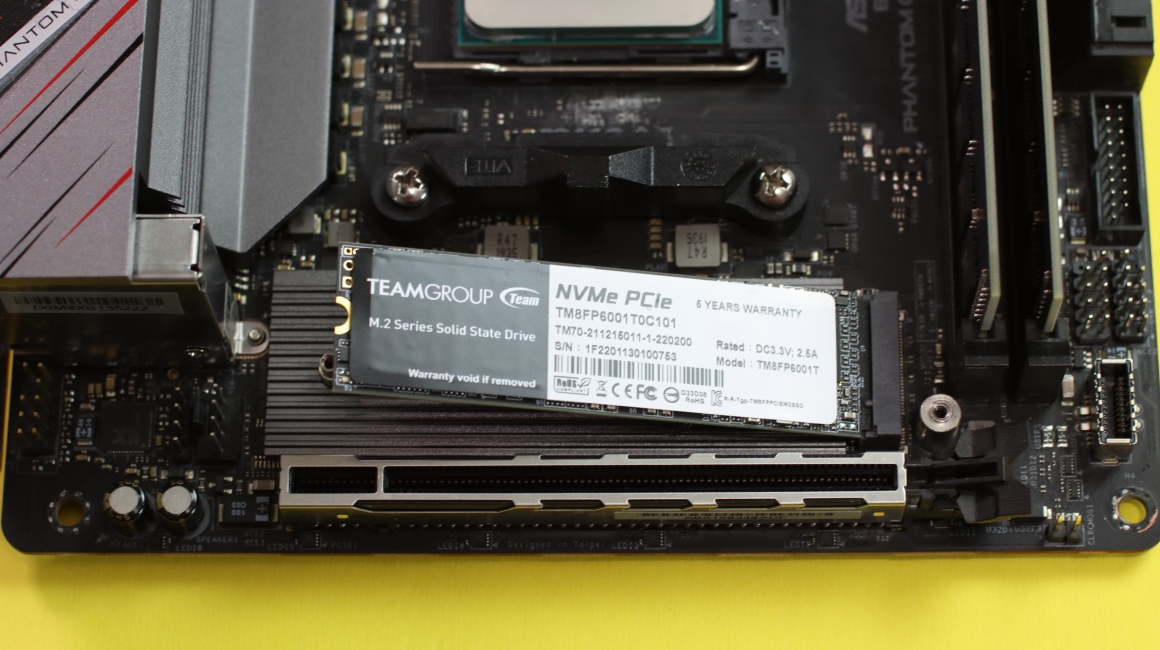
When the M.2 SSD is placed, you will see that it will be angled at a certain degree which is normal. The only thing left now is to push it down so the top part which isn’t the connection fits perfectly in on top of the hole for the screw and place the passive heatsink on top of it. After that, tie up the two screws that hold the passive heatsink and the M.2 in place.
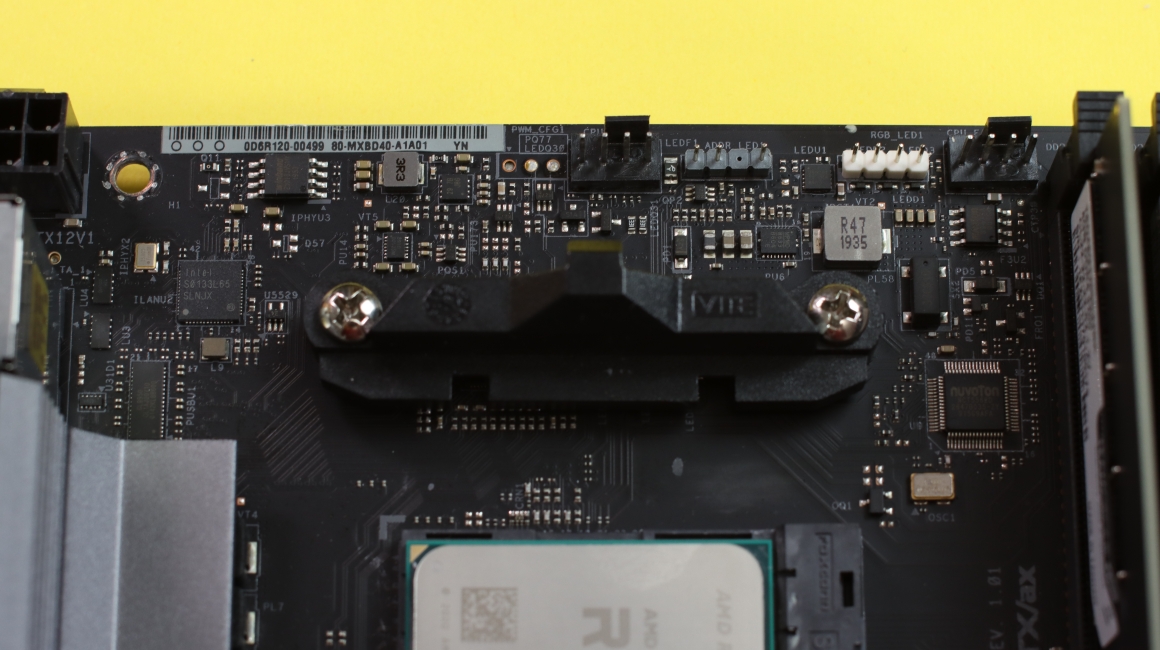
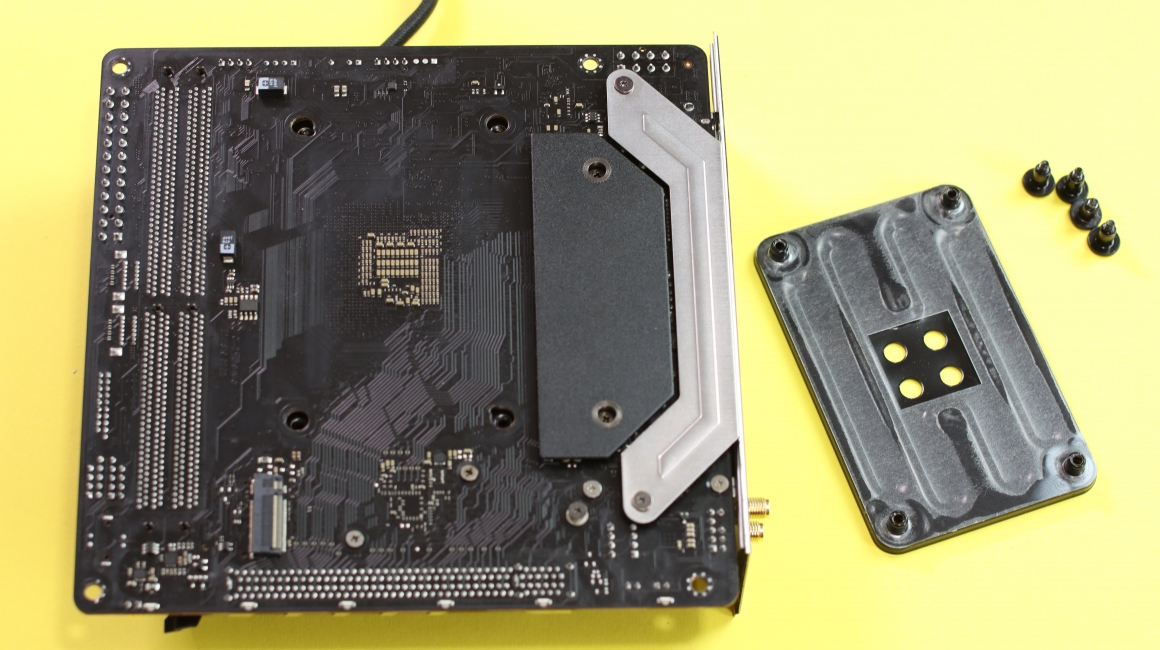
Now it is time to place the processor cooler. First, we need to remove the original backplate and screws plus plastic holders that are usually used for the stock cooler. Since we are using an after market cooler, we don’t need them since everything is coming inside the box of Noctua NH-U9a-AM4 chromax.black.
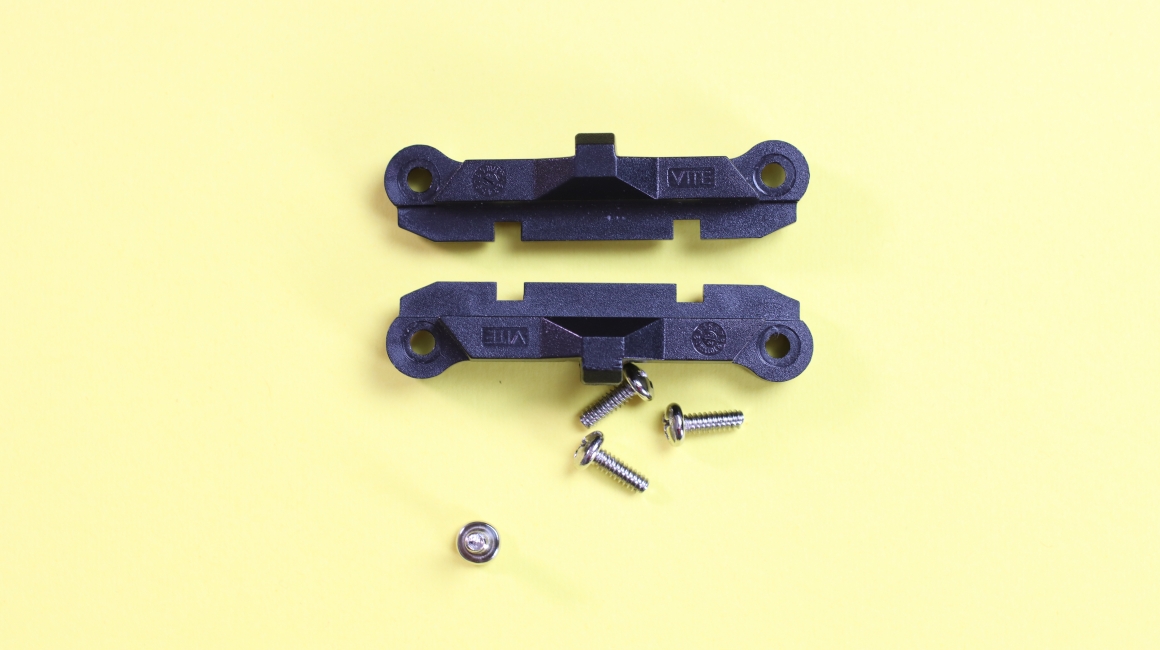
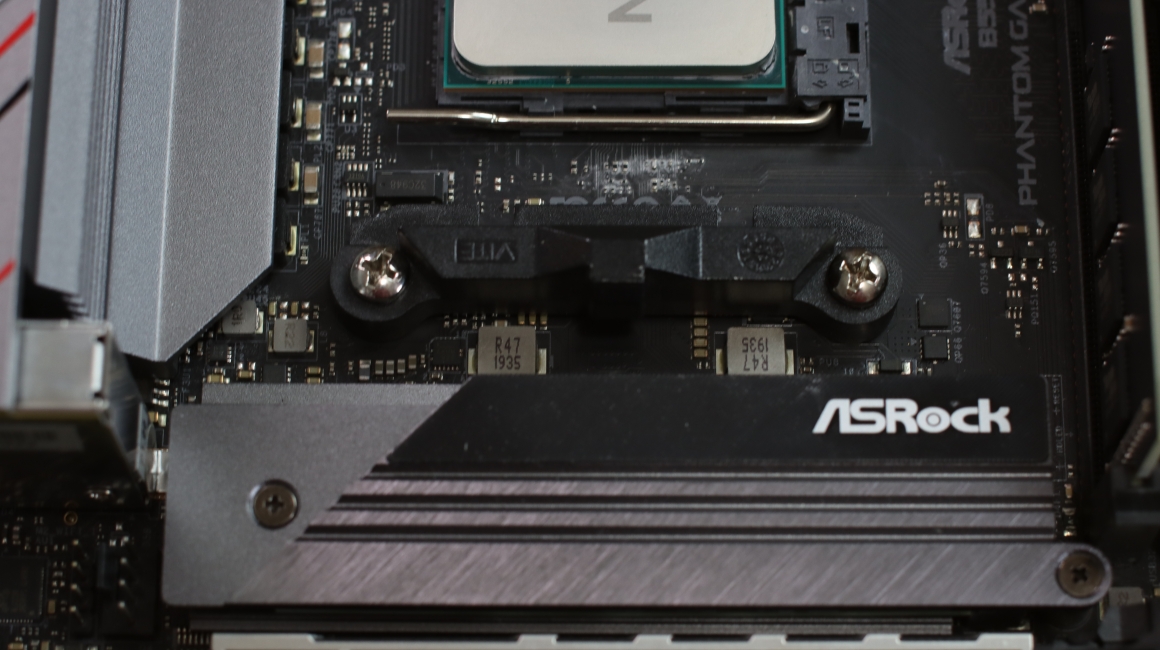
Place everything back inside the motherboard box because you will eventually need those in some future in a situation if you decide to sell, change, or remove something from the motherboard.
Time to place a pie size thermal paste on the processor for better heat conductivity.

After that place the processor cooler on the processor, turn the motherboard around and place the backplate that comes with the cooler.
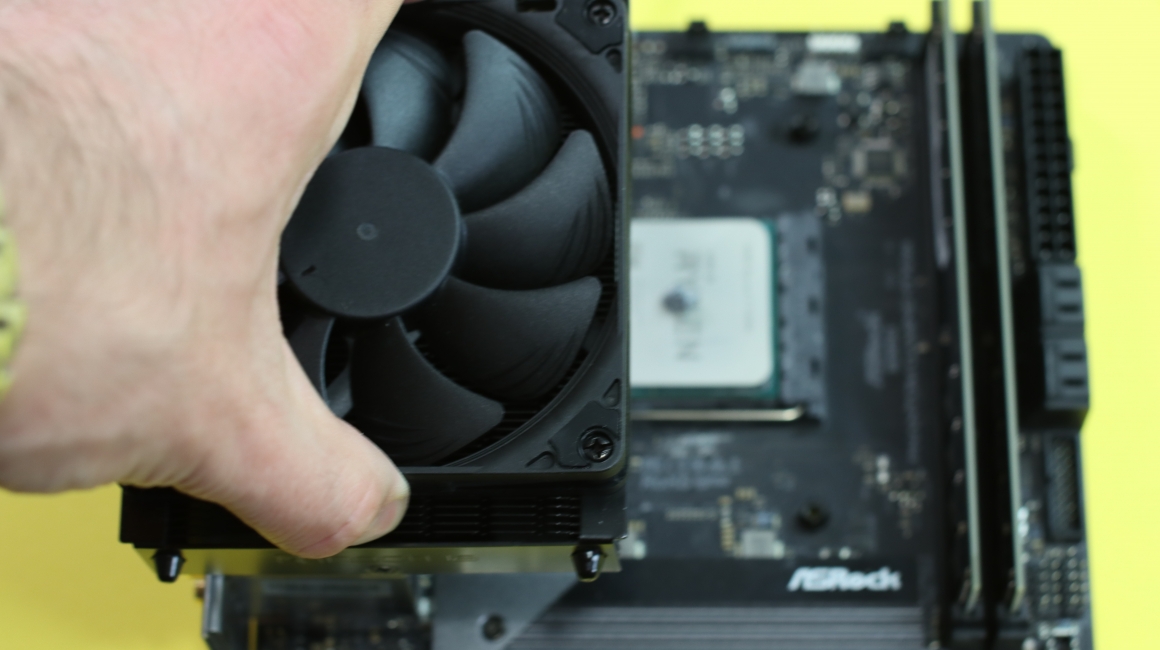
Backplate and cooler need to be aligned nicely so you can tie up all the screws.
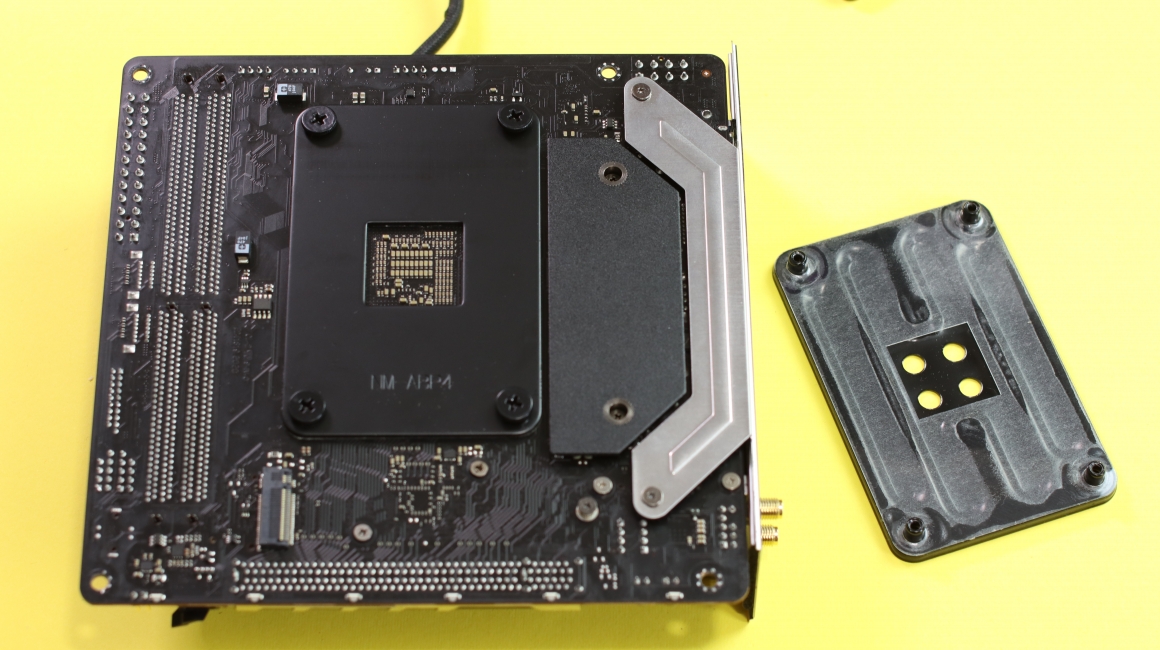
The only thing left now is to connect the fan from the processor cooler to the 4-pin PWM connector on the motherboard called CPU FAN1.
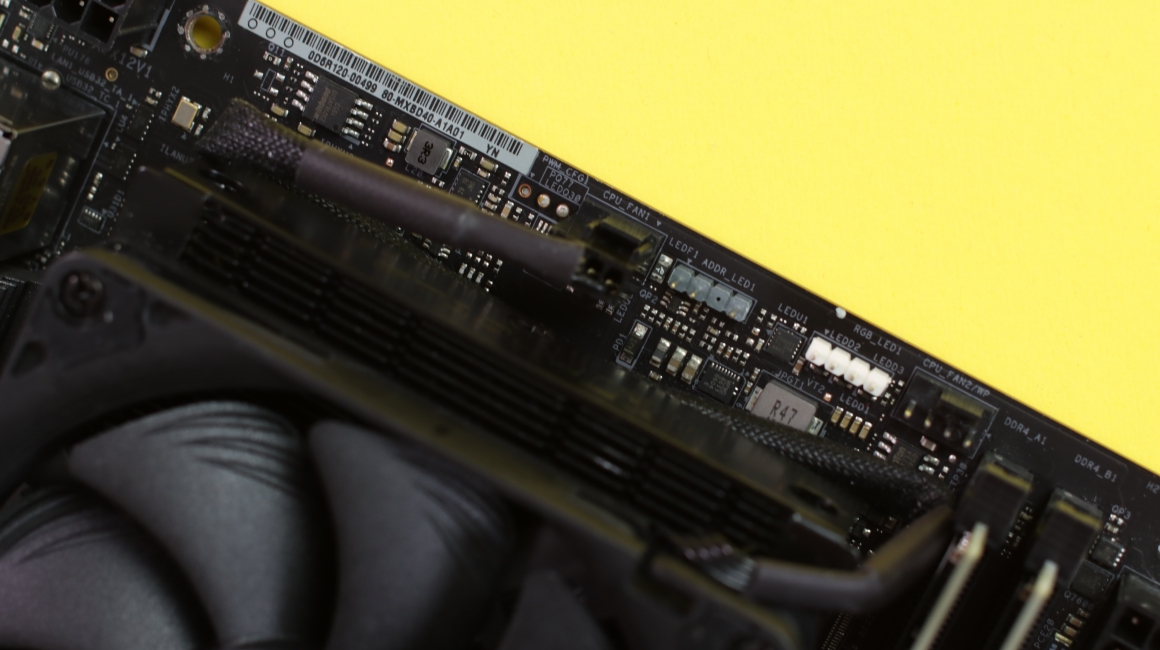
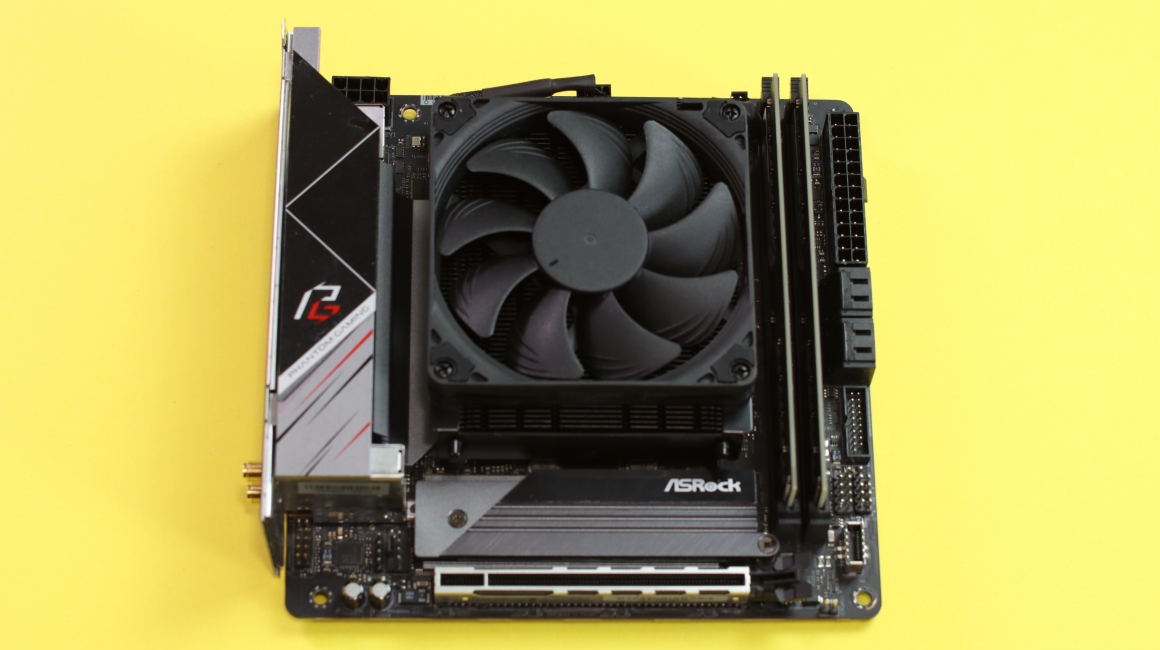
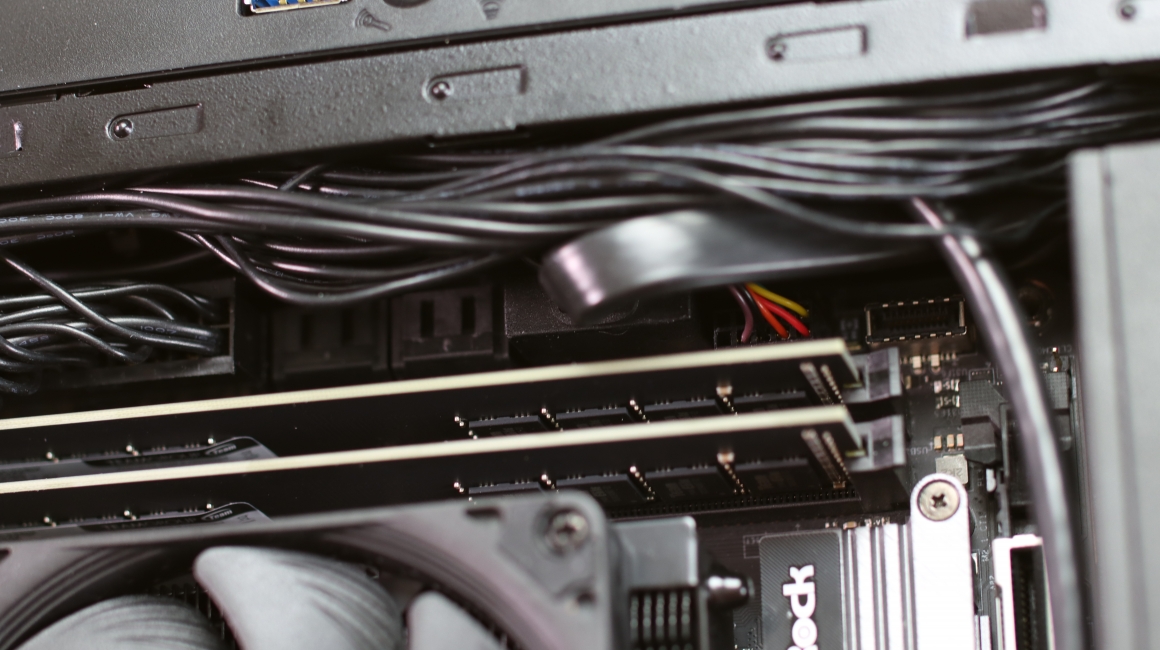
Final stage of the build is to place the motherboard with everything inside the InWin Chopin Pro case and connect all the connectors, including placing the Team Group CX2 Classic 1TB at the back side of the case and connecting the SATA power and SATA data cable to it.
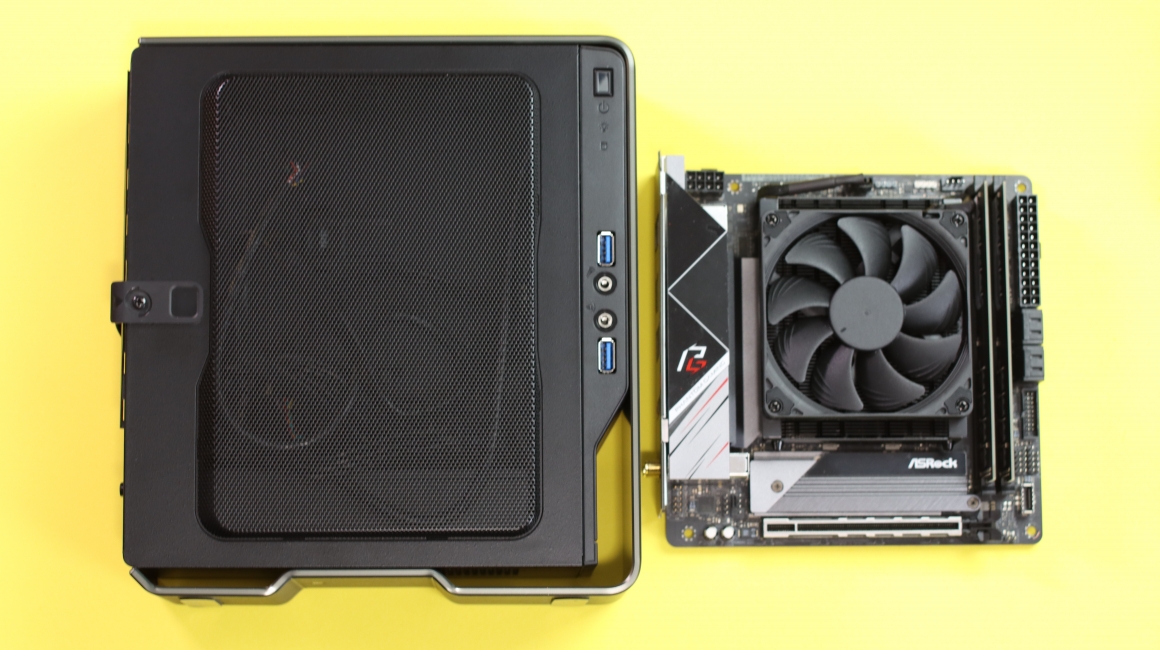
As for the other connections, place the 24-pin and 8-pin from the power supply to the motherboard.
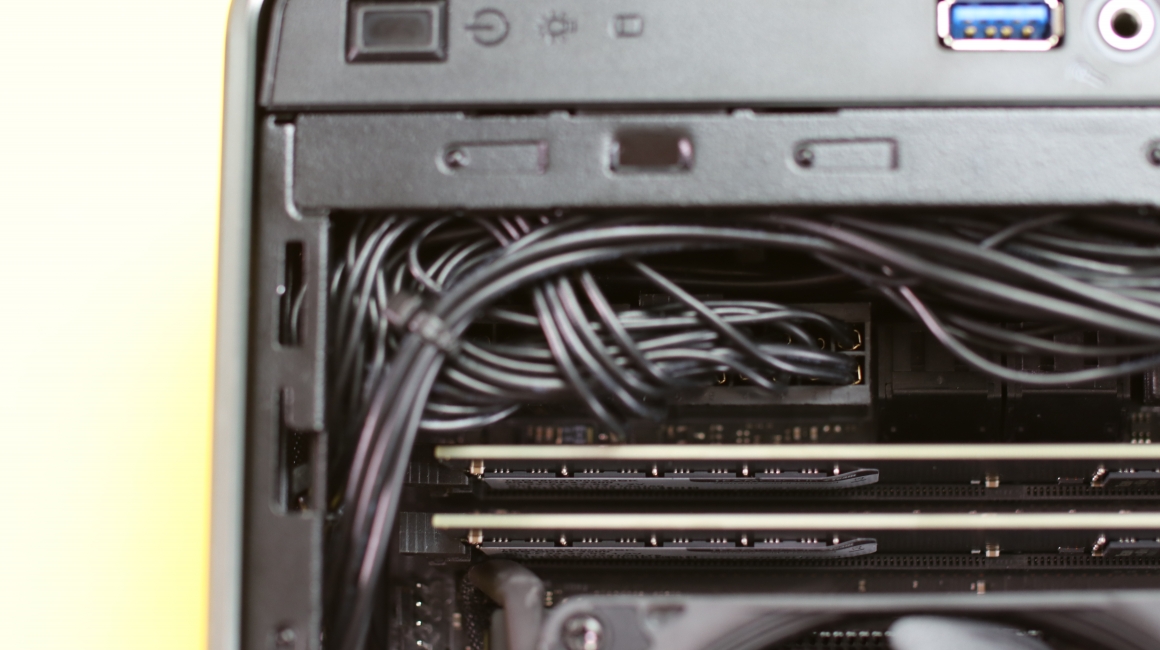
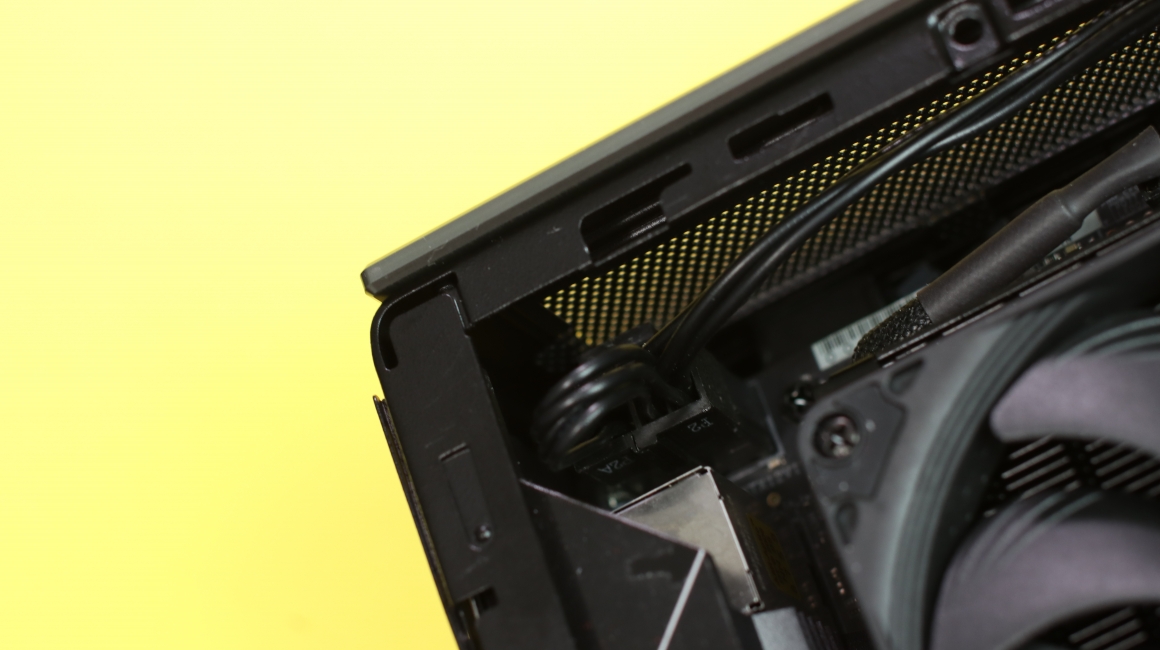
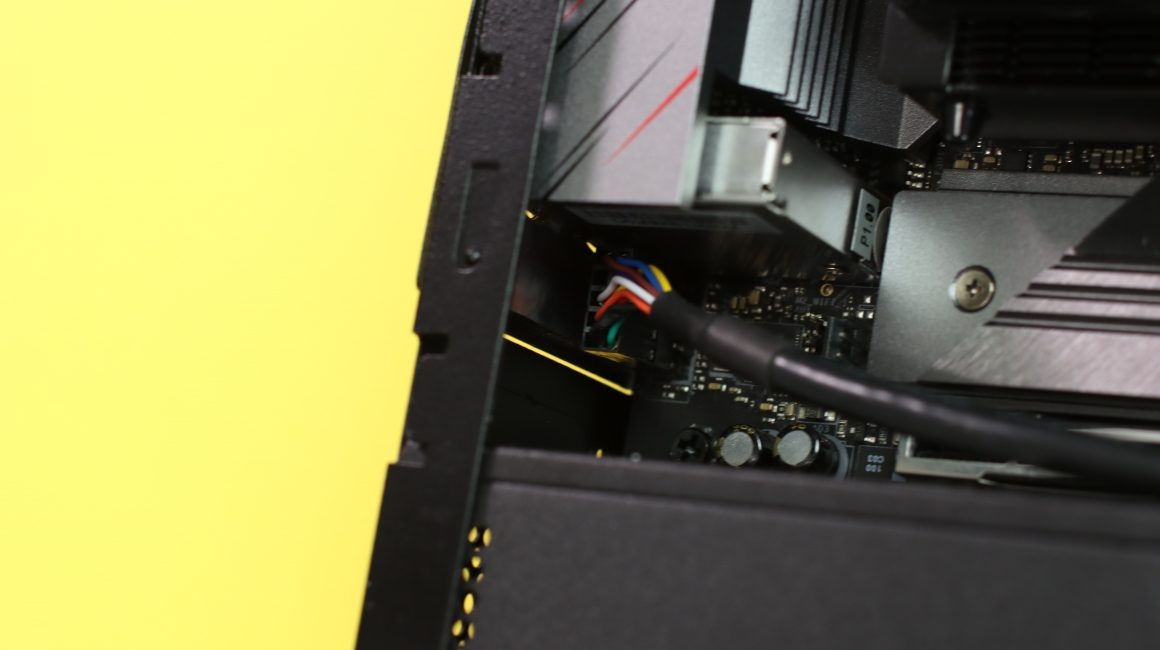
Also, connect the front panel header, audio jack and USB 3.0 header to the motherboard for power on/off button, 3.5mm jacks for audio and finally for the USB 3.0 ports on the side of the case.

Basically, the only thing left now is to turn on your computer, run the installation of your desired operational system, additional software needed for work and that wraps up the process of building a nice and subtle, yet affordable and strong office/student computer.
For more detailed information on this computer you can also check out this YouTube video.


