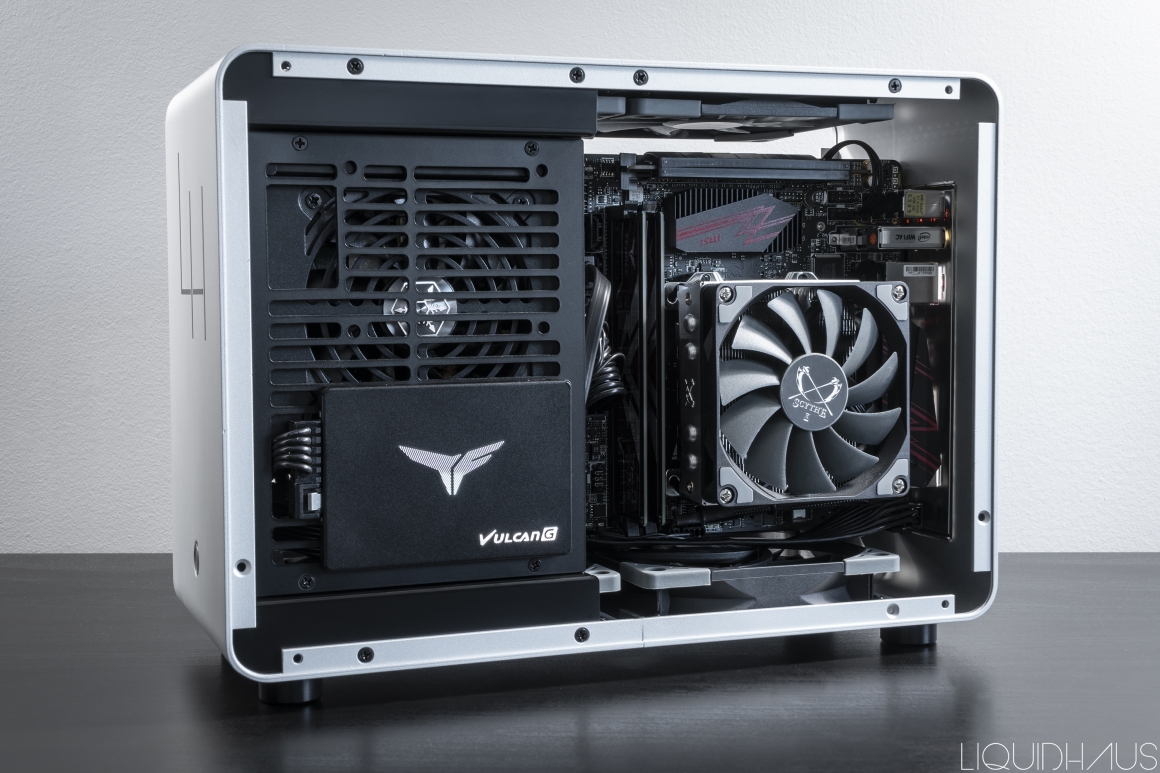
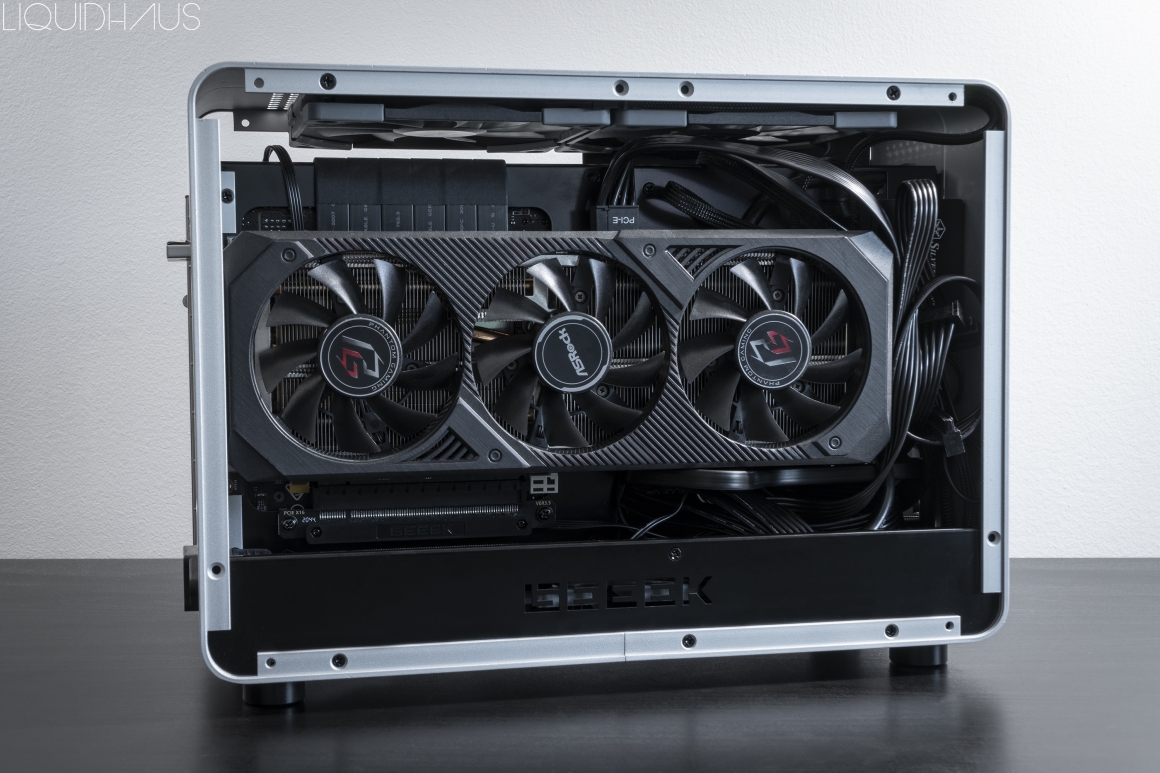
I wish I could count how many times I have been approached about building super high-end gaming or workstation PCs. I also can't count how many times I have actually built those exact systems. Computers that blow past the $5,000 range into the realm in which not many people have the sort of money to spend. Through it all, the PCs that people end up being the happiest with are the PCs that came from smaller budgets, and end up becoming great machines for the money that was invested. This article will discuss choosing components for a system that is budget minded - aimed at the very respectable sub $1,500 price point - $1,295 to be exact, all the while assembling the very system that’s being discussed, right before your eyes!
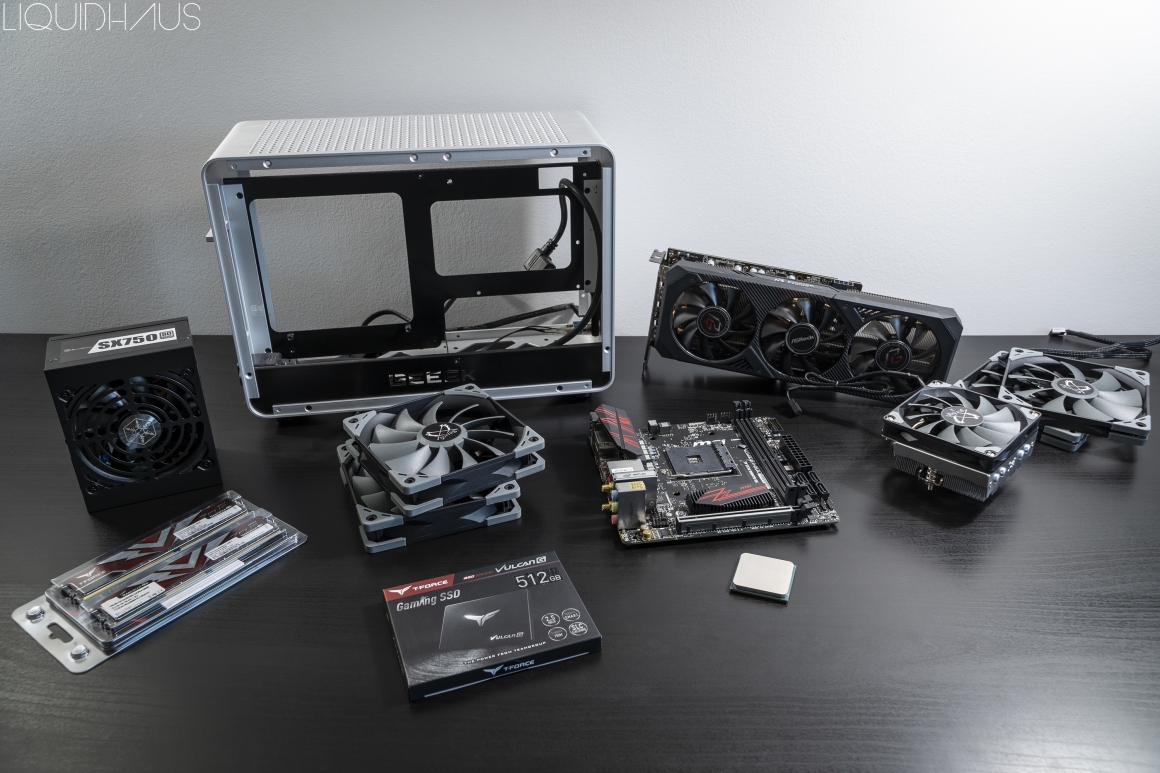
A quick disclaimer here: I am writing this article for TeamGroup, as they have graciously hired me to write a few articles for them, for which I am deeply honored that they appreciate my work enough to want to work with me! Also, some of the parts used in this build were indeed sent to me as a requested sample product to be used in various builds, and some of the parts used have also been purchased by me. I will be listing the parts below:
Total Cost (current actual MSRP pricing): $1,295 USD
By looking at the spec list, you can see that you've got some pretty solid components here that are more than capable of handling gaming as well as the workstation side of things. I would personally say the one biggest change you could do if you wanted to gear the spec list more towards work rather than gaming is doubling the memory from 16GB to 32GB! Moving onto the assembly of the system, this article will cover the broader viewpoint of the assembly rather than the more minute details.

Starting with the motherboard and processor, I decided to stick with AMD's B450 chipset due to its great value - especially when the B450 chipset can become compatible with AMD's latest 5000 series processor, specifically the 5600X in this instance - with a simple BIOS update! The 5600X has been called the "best gaming CPU of 2020", and I would say as of right now it's still one of the best gaming CPUs of 2021! With a boost clock of 4.6ghz, this 6 core, 12 thread processor has helped bridge the performance demand with the latest games needing more than just the now-classic 4 cores and 8 threads. The B450 chipset motherboard was chosen because it's more than capable of handling modest overclocking, and it doesn't need to be cooled like the X570 chipset does, and because of that, the chipset itself isn't as expensive, so you then have a budget-minded solution that is still more than capable of handling the needs of an average everyday gamer.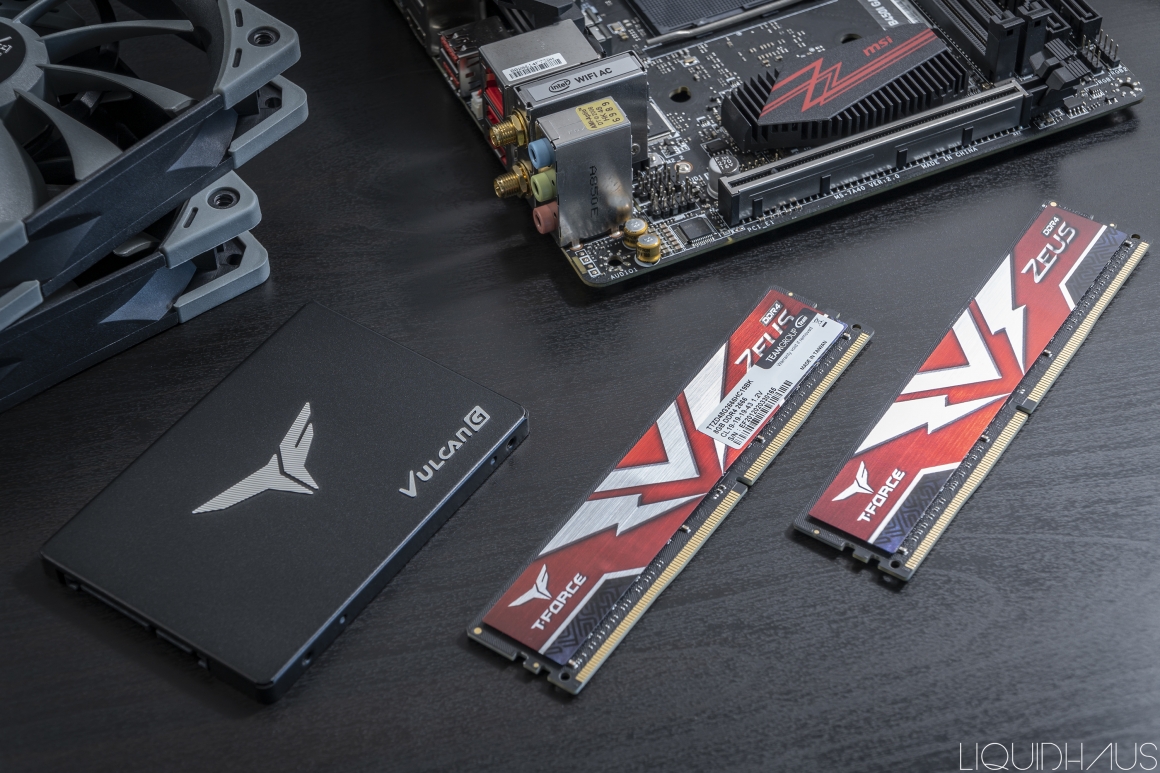
Up next are the memory and storage choices! These offerings by TeamGroup were hand-picked for this very situation. You have the Vulcan G 2.5" SATA SSD, which is capable of 500 MB/s read and write speeds, and they come in both the 512GB and 1TB sizes. With the ever popular NVMe and M.2 technologies becoming so popular, it still needs to be stated that SATA SSDs can still keep up with most tasks that an everyday user needs to accomplish, and gaming is no exception. There are only a few games out there that can really fully utilize insanely high speed storage devices like NVMe's. Coming in at just $55 USD, the Vulcan G is an insanely solid choice when you're limited by a budget!
Every build has to deal with memory, and when you're focused on finding a kit that will do the job reliably, without focusing so hard on the fastest speeds attainable, the Zeus DDR4 kit is a perfect example of just that. Speeds are the original DDR4 standard - 2666mhz - along with very basic timings - 19-19-19-43 - this kit is clearly designed to simply get the job done with budget in mind most of all. At just $80 USD, it's a supremely cost effective way to get memory out of the way when budgeting for other parts of your build.
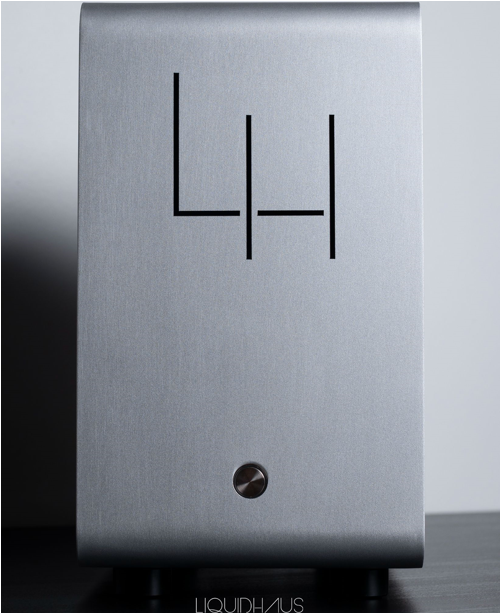
When choosing the components for a budget build, one way that can really set you apart from other builds is the case choice. I personally chose to do a small form factor (SFF) build for this article based on the premise of taking advantage of packing all of these budget component choices into a super small package, plus SFF builds are becoming extremely popular in the PC building community. There are also tons of smaller cases that represent essentially the less material used, the less the actual case will cost you. However, it's easy to go overboard with how small you can get the chassis, where it becomes an issue of what actual components can fit into the case and being heavily restricted on dimensions and free space. The G1 by GEEEK is a great cast aluminum chassis that clearly has it's design thought out and is a solid performer for proper airflow inside a case. I threw a LiquidHaus ‘LH’ vinyl sticker on the front because well, I think it works perfectly there!
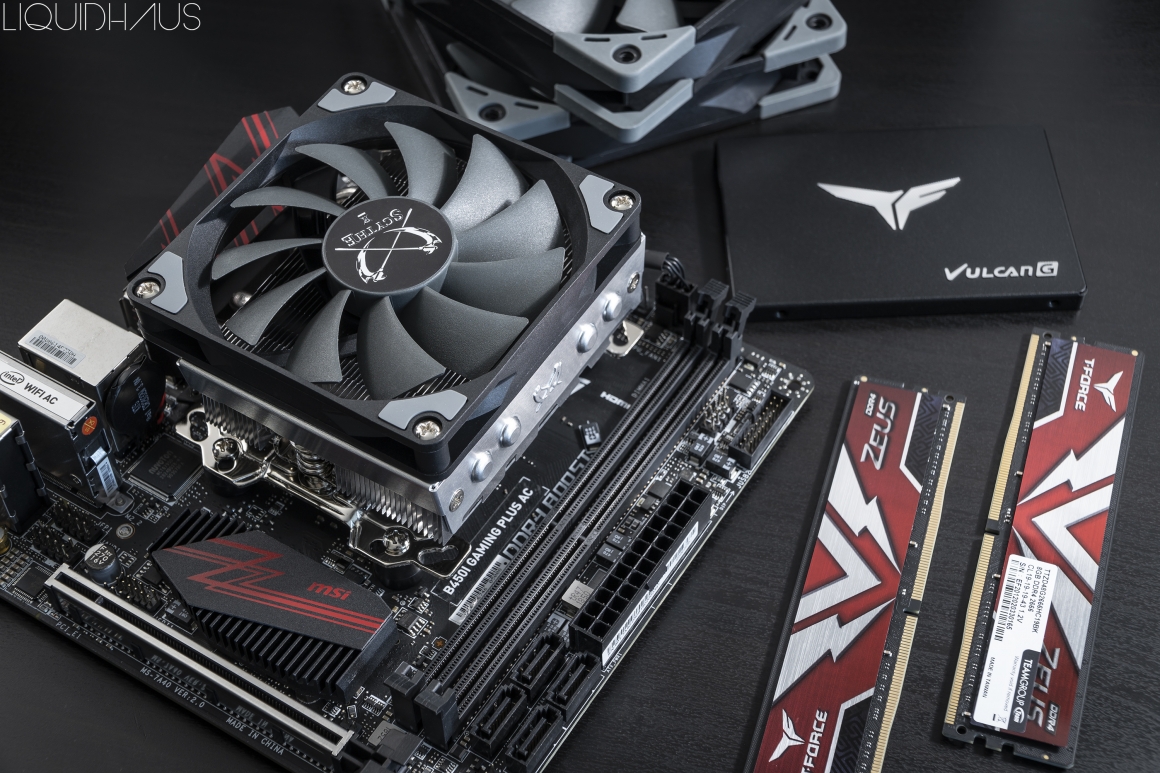
One of the biggest killers to any PC, whether it's high-end or budget-friendly, is heat. Heat can kill any component if the necessary precautions aren't taken into consideration. Your processor's cooling should almost always be near the top in what is most important when putting your PC together. Thankfully the market is quite saturated with many different options at many different price points. The cooler I decided to use for this build was Scythe's own Shuriken 2 cooler. With an overall heatsink + fan height of 58mm, it's a great choice for small form factor builds, especially with clearance for any size memory heatsinks. Scythe makes some excellent cooling parts that are almost always budget friendly. I also chose Scythe's Kaze Flex line of fans, both in 25mm thickness and 15mm thickness for the intake and exhaust fans.
Up next is the GPU, and I decided to go the route of using ASRock's 5600XT Radeon D3, which is priced at a comfortable $310 USD. Of course, that's the MSRP of when the card was released and sold at that price for quite some time until the GPU market blew up and every sort of GPU that is still out on the market currently all sit at very uncomfortable and unreasonable prices. I still consider the original MSRP as the price for this GPU for this build because of how volatile the GPU market is, where you really don't know if you'll be able to find a GPU for the price you want or not.
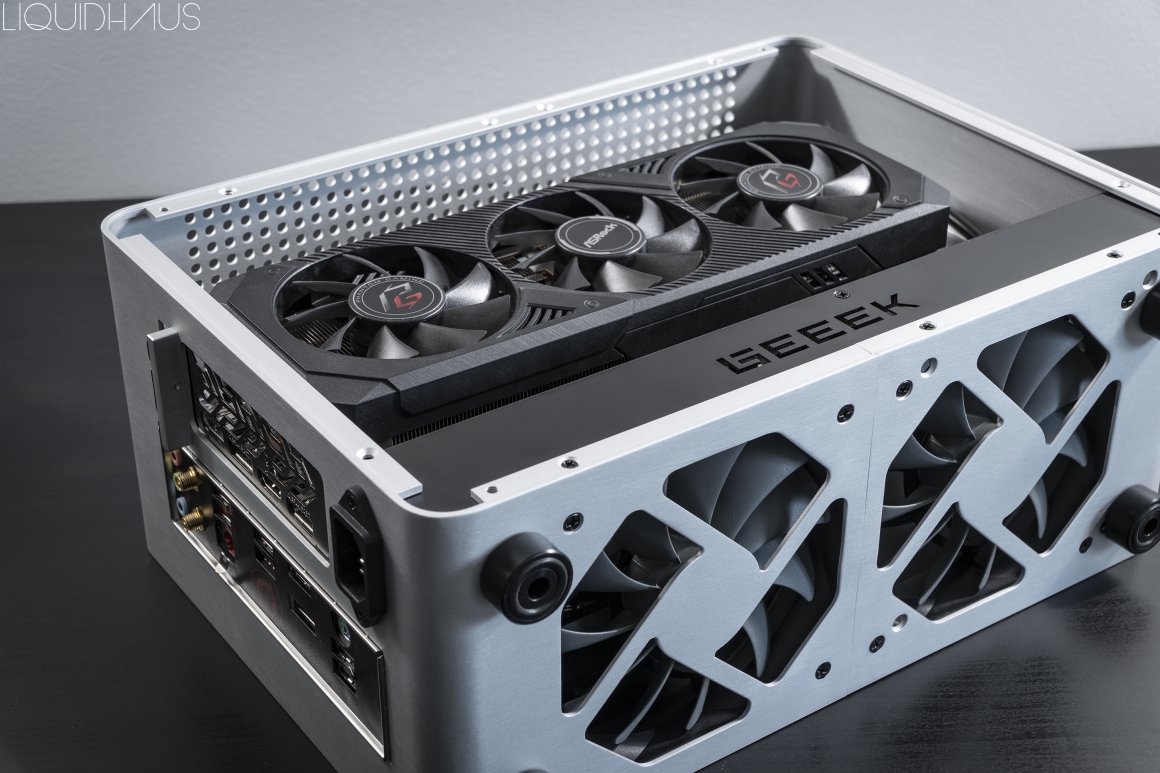
The 5600XT is a solid choice for 1080P gaming, and it often trades blows with Nvidia's RTX 2060, with most times beating it out! I've personally had this sample card for about a year, and the one issue I don't like about the card is the default fan stop setting, in which the card's cooling fans will only start spinning once temps reach 50c, and for me that is just a little too warm to finally start cooling. Luckily there’s a trick to overwrite that fan stop setting through AMD's Radeon Drivers, but that was only a somewhat recent development. I'll always be a fan of...fans spinning continuously to keep components cool! Like I said, heat is a killer for PC components!
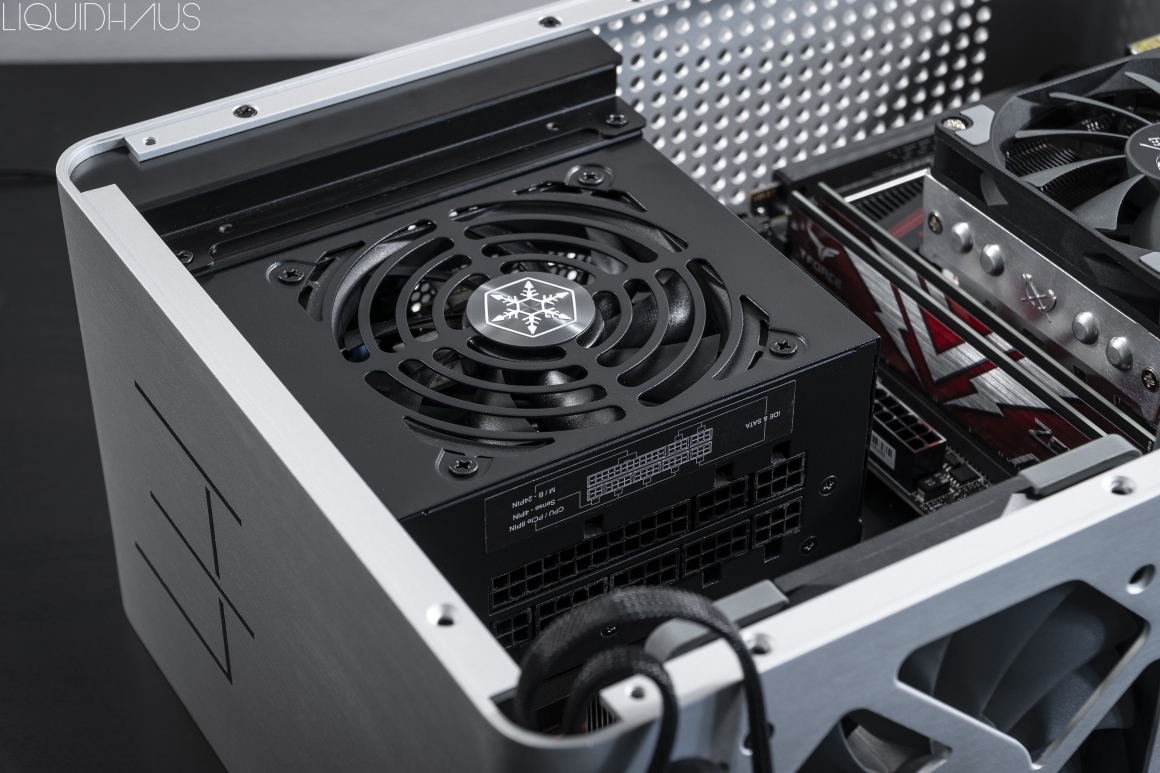
Up next is the power supply, and wow have power supplies become awesome! For this build, I chose Silverstone's brand new revisioned line of their well known SFX form factor PSUs. I've used Silverstone power supplies for years, and they honestly just keep getting better and better. The SX-750 is an 80 Plus Platinum rated revision of the older SX-700W. A nice 50w jump on top of a few efficiency advances as well as a couple of tweaks makes the SX-750 a prime choice for small form factor builds. I've personally used an AMD 5900X and RTX 3090 with this same PSU and it handled the hardware with no issues whatsoever! You'll have lots of headroom that will last you for years to come!
All in all, when it comes to building your own PC, it's really not too hard! One of the trickiest parts about the ordeal is choosing the right components before the assembly even begins. I have seen many people stumble at this step and it becomes discouraging for them, and the drive they have to build one starts to disappear. Luckily the internet has provided many instances of walkthroughs and helpful tips when diving into this hobby, and so I hope this article can help you in this endeavor! Thanks for reading!
